
The Safe Way to Remove Mold from Wood and Studs

Mold removal from wood requires more than bleach — bleach can’t reach the roots. Here’s the borax method, the 7-step process, and the EPA’s 10 sq. ft. rule.
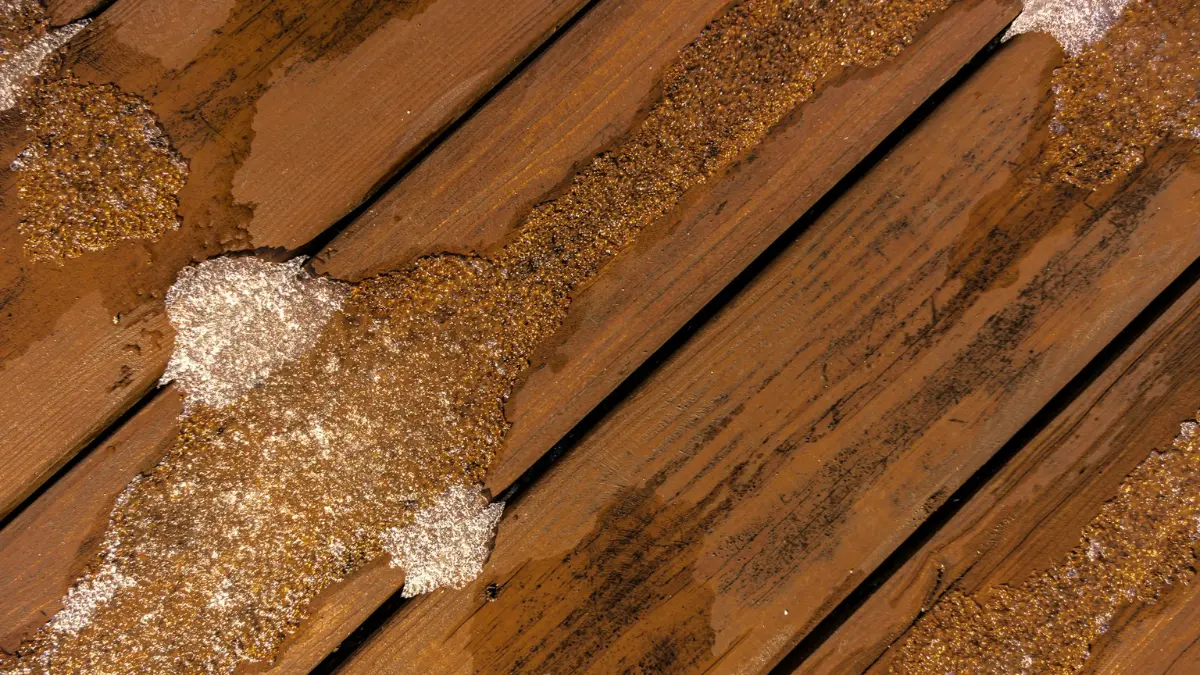
Table of Contents
Why mold on wood demands fast action
You pulled back the drywall — or lifted the bathroom flooring — and there it was.
Mold on wood spreads fast once it finds moisture, and porous wood grain gives it an almost perfect environment to take hold.
The good news: most cases homeowners encounter are DIY-safe, fully treatable, and permanently fixable once you stop the moisture source.
This guide gives you a complete, step-by-step path — from correctly identifying your mold problem through to sealing and preventing its return.
For a broader picture of mold throughout your home, start with the mold remediation diagnostic plan — the pillar article that maps every mold scenario by location and severity.
ℹ️ Disclaimer: This guide covers DIY-safe scenarios involving mold patches under 10 square feet on non-HVAC wood surfaces. If your situation falls outside these parameters, consult a licensed mold remediator before proceeding.
How to identify and assess mold on wood
Cleaning before correctly identifying what you’re dealing with is the single most common mistake — and it’s why mold keeps coming back.
Surface mold vs. deep wood mold: what the difference looks like
Surface mold sits on top of the wood grain as a fuzzy or powdery coating — typically white, green, or black.
Run a damp cloth over it: if most of it wipes away, you’re dealing with surface colonization.
Deep mold penetrates the grain and leaves behind dark grey or black discoloration that remains after wiping.
That staining signals mold roots have entered the wood itself — a more involved clean-up that may require wire brushing or light sanding before any solution is applied.
What causes mold on wood studs (the real culprits)
Mold growth on wood has one root cause: sustained moisture above 16% wood moisture content.
The specific triggers, however, vary — and identifying yours before cleaning is non-negotiable, because mold returns within weeks if the moisture source stays active.
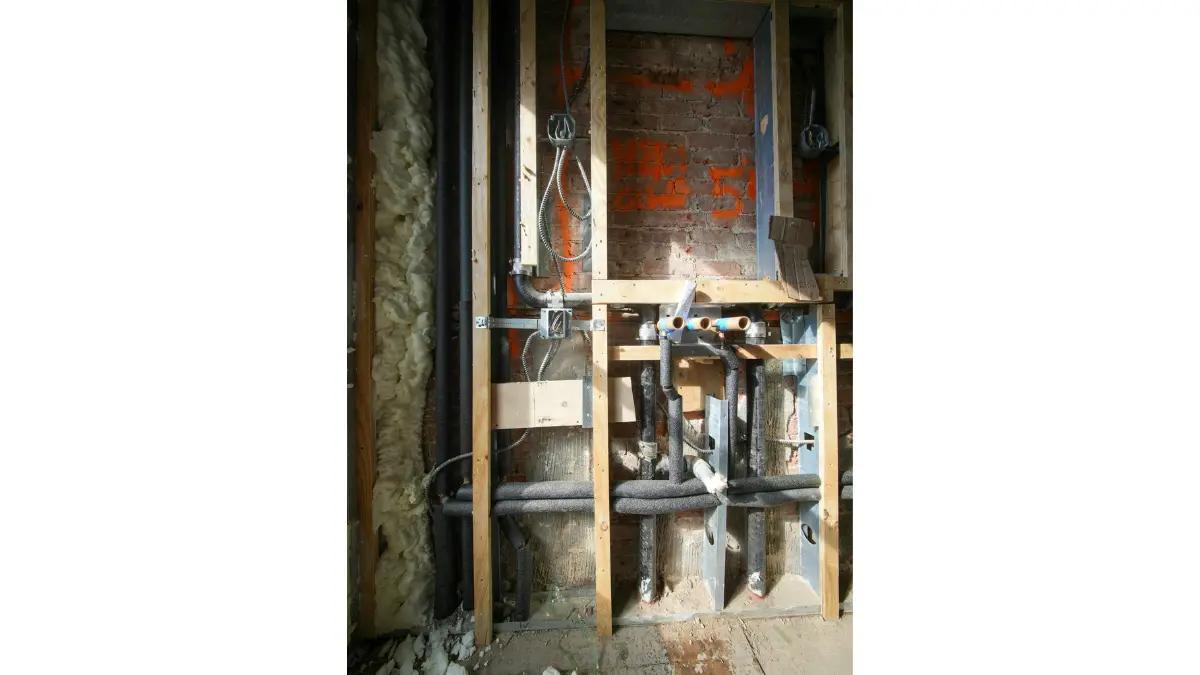
The five most common causes are:
- Plumbing leaks behind walls slowly wetting framing over months without visible signs
- Condensation on cold surfaces — common on exterior walls in basements and crawl spaces
- Poor attic or crawl space ventilation trapping humid air against structural lumber
- Flood or water intrusion where lumber dried too slowly after the event
- Wet framing lumber used during construction and enclosed before fully drying
If your studs have mold and you haven’t found the source yet, read how to fix a leaking pipe behind a wall before you start cleaning — otherwise you’re treating a symptom.
What you need before starting mold removal
Every supply you need should be on-hand before you disturb a single mold colony.
Disturbing mold without containment releases spores that travel through your HVAC system and seed new colonies in other rooms — sometimes within 24 hours.
PPE you must wear (non-negotiable)

- NIOSH APPROVED: For at least 95 percent filtration efficiency against certain non-oil based particles
- COMPATIBLE: With a variety of protective eyewear and hearing protection
- ADJUSTABLE NOSECLIP: Reduces potential for eyewear fogging and helps provide a custom and secure seal
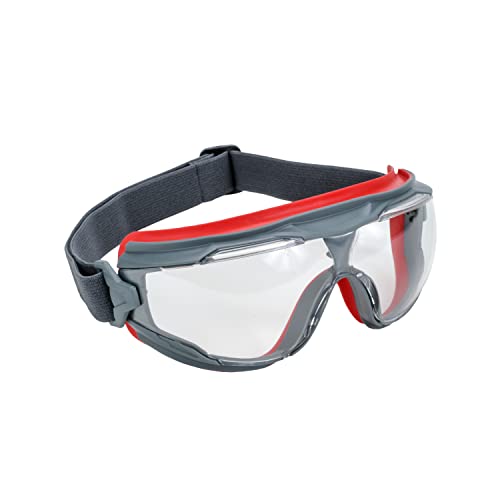
- 3M Scotchgard Anti-Fog Coating lasts longer than traditional anti-fog coatings, helping to increase eyewear performance …
- Workers may enjoy reliable, clearer sight longer, because the coating with its active ingredient is bonded to the lens. …
- The coating withstands disinfection with diluted bleach soaking or alcohol wipes without losing its anti-fog performance
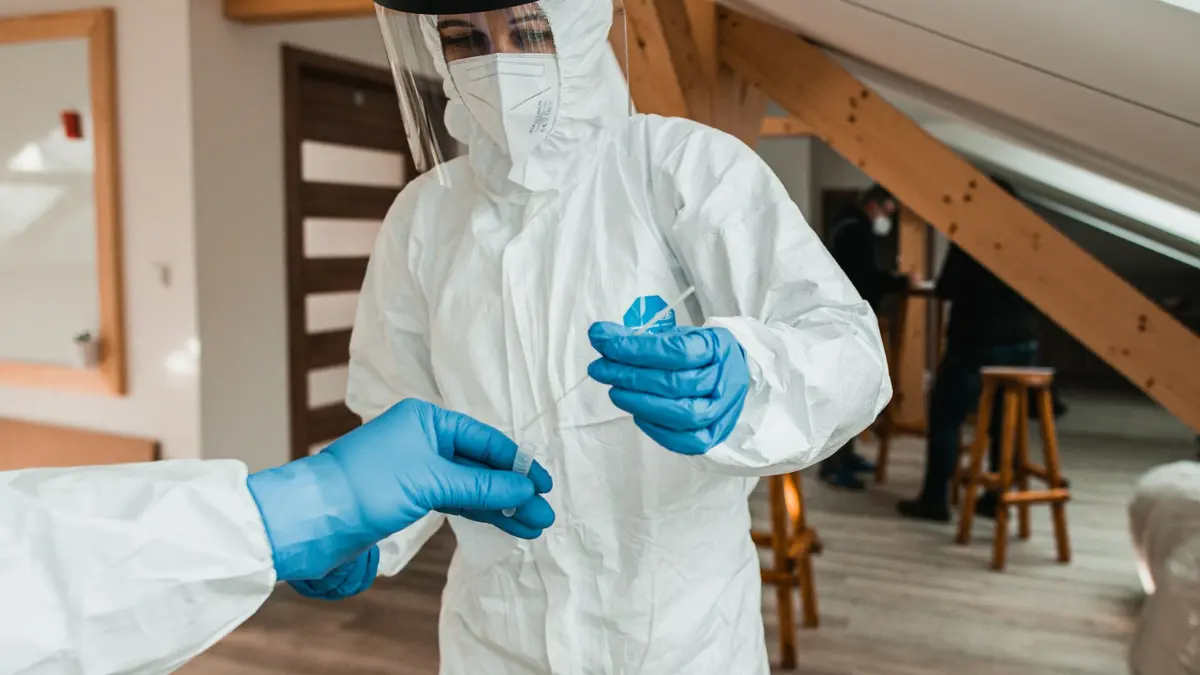
What PPE do you need for mold removal? Before removing mold from wood, put on: an N95 or P100 respirator, non-latex nitrile gloves, safety goggles without ventilation holes, and long-sleeved clothing that can be washed immediately afterward.
The CDC’s mold cleanup guidance specifies that an N95 respirator is the minimum respiratory protection for mold disturbance — a standard dust mask is not adequate.
⚠️ Warning: If anyone in your household has asthma, COPD, severe allergies, a compromised immune system, or is pregnant, they should leave the work area entirely and not return until cleanup is complete and the space has been ventilated for at least two hours.
Tools and supplies checklist

- 【Powerful 35-Minute Runtime & Large 900ml Tank】Clean your entire home on a single charge with extended battery life and …
- 【All-in-One Pick-Up & Mopping with 16KPa Suction】Effortlessly tackle tough dry and wet messes like spills, crumbs, pet f…
- 【Deep Self-Cleaning & Hot-Air Drying】Simply place the Dreame H12 Pro on its dock to activate a thorough self-cleaning cy…
Here is every item you need before breaking containment:
PPE:
- N95 or P100 half-face respirator
- Non-latex nitrile gloves (at least 8 mil thickness)
- Safety goggles — unvented, full seal
- Disposable coveralls or dedicated work clothes
Tools and materials:
- HEPA vacuum with disposable bags (standard vacuums exhaust spores back into the air — a HEPA filter rated at 99.97% is not optional)
- Stiff wire brush or scrubbing sponge
- Spray bottle or pump sprayer
- Plastic sheeting and painter’s tape (containment)
- Heavy-duty garbage bags for disposal
- Box fan and exhaust setup for ventilation
Cleaning solutions:
- Borax + water solution
- Distilled white vinegar (undiluted)
- EPA-registered antimicrobial solution (Concrobium Mold Control, RMR-86, or Mold Armor)💡 Expert Note: A HEPA shop vac with a fine-dust filter bag costs around $60–$80 and is reusable across projects. Attempting mold removal with a standard wet/dry vac without a HEPA filter will make contamination significantly worse.
Step-by-step mold removal from wood surfaces

- HUMIDITY SENSOR: Our handy meter tool can quickly determine what level of remediation is needed to keep your family safe…
- WATER LEAK DETECTOR: Finding the moisture content in your wood or drywall is the first step in early prevention. Continu…
- MOISTURE READER: The mold test features large 0.3″ high digits in a backlit LCD for quick and easy detecting. Our mildew…
This is the core process — and this is where most DIY guides fail by recommending bleach on porous wood without explaining why it doesn’t work.
The 7-step cleaning process
How do you remove mold from wood? Follow these steps in order:
- Set up containment. Seal the work area with plastic sheeting. Close all HVAC vents in the room to prevent spore spread.
- Put on full PPE. Respirator, goggles, gloves — all on before you open the plastic sheeting.
- HEPA vacuum the surface. Run the vacuum over all visible mold before applying any liquid. This removes loose spores and prevents them from spreading when the surface gets wet.
- Apply your cleaning solution. Spray or brush the solution onto the affected wood. Do not over-saturate — wood should be damp, not soaked, since excess moisture prolongs drying time and invites mold to return.
- Scrub with a wire brush. Work with the wood grain, not against it. Scrubbing across the grain opens the surface and drives spores deeper into the wood rather than lifting them.
- HEPA vacuum again. Capture all dislodged material before it dries and becomes airborne.
- Dry completely. Use fans directed out of the space. Wood must reach below 16% moisture content before any sealant or paint is applied — verify with a pin-type moisture meter.
Bleach, borax, or vinegar: which actually works on wood
Does bleach kill mold on wood? Bleach is ineffective on porous wood surfaces because the water component in bleach cannot penetrate the grain — it evaporates at the surface while the chlorine kills surface spores but leaves the mold root system (mycelium) intact below.
This is why mold returns after bleach treatment — the surface looks clean but the roots remain alive in the grain.
The EPA’s mold guidance for homeowners recommends a mild detergent-and-water solution for most wood mold cleanup, with bleach reserved for hard, non-porous surfaces like tile and glass.
Here is how the most common solutions compare:
| Solution | Works on Porous Wood? | Kills Roots? | Best Used For |
|---|---|---|---|
| Household bleach (1:10 water) | No | No | Non-porous surfaces only |
| Borax + water (1 cup per gallon) | Yes | Yes | Structural lumber, studs |
| White vinegar (undiluted) | Yes | Partially | Light surface mold, furniture |
| Concrobium / RMR-86 / Mold Armor | Yes | Yes | Structural wood, post-flood |
Source: EPA Mold Guidance; U.S. Forest Products Laboratory Wood Handbookstimsonlumber
✅ Pro Tip: Borax does not off-gas fumes and leaves a residue that continues to inhibit mold growth after drying — making it the preferred choice for enclosed spaces like wall cavities where ventilation is limited.
For guidance on removing mold from drywall adjacent to your wood surfaces, see how to remove mold from drywall without it coming back.
How to remove mold from wood studs and framing
Framing mold is a different animal from furniture or flooring mold — and most surface-mold guides leave you completely unprepared for it.
Assessing mold on exposed studs
How do you remove mold from wood studs? To remove mold from wood studs: first HEPA vacuum exposed framing, then scrub with a borax or antimicrobial solution working with the grain, allow to dry fully below 16% moisture content, then seal with a mold-encapsulant primer.
Before any treatment begins, assess two things: area size and structural integrity.
Press a flathead screwdriver firmly into the stud — structurally sound wood resists without giving. If the wood compresses or crumbles, the mold has compromised the fibers and that stud needs replacement, not cleaning.
Cleaning vs. replacing moldy studs: the threshold decision
Surface mold on studs — fuzzy, wipes partially, no structural softness — is almost always cleanable with the borax-and-scrub method above.
Studs that fail the screwdriver test, have mold penetrating more than a quarter-inch into the grain, or show active water damage at the base should be replaced.
The replacement process: sister a new stud alongside the compromised one, secure it to the top and bottom plate, then remove the original once the new stud is load-bearing.
For broader framing mold questions related to attic or crawl space framing, the attic mold removal guide and crawl space mold removal guide cover those scenarios in detail.
Using mold encapsulant after cleaning
Encapsulation is the professional finishing step most DIYers skip — and skipping it is why mold returns on studs more often than any other surface.
After cleaning and fully drying (verified below 16% wood moisture content with a pin-type moisture meter), apply a coat of antimicrobial encapsulant such as Kilz Mold & Mildew primer or Fiberlock ShockWave.
This seals any remaining dormant spores within the wood grain so they cannot reactivate if humidity briefly rises.
💡 Expert Note: A pin-type moisture meter costs $20–$35 and removes all guesswork. If you encapsulate wood at 18–20% moisture content, you are sealing active mold conditions inside the wall — the mold will continue growing beneath the encapsulant layer.
When to call a mold remediation professional
Knowing where the DIY line sits is not a sign of defeat — it is the single most important decision in this entire process.
The EPA 10 sq. ft. rule explained
When should you call a professional for mold on wood? According to the EPA’s mold cleanup guidelines for homeowners, if the mold-affected area exceeds 10 square feet — roughly a 3×3 ft patch — you should hire a certified mold remediation professional rather than treating it yourself.
That threshold exists because larger infestations require containment, air scrubbing, and disposal protocols that exceed standard DIY capability.
5 signs you need a certified mold remediator
Call a professional if any of the following apply:
- The affected area exceeds 10 sq. ft. of visible mold
- Mold has entered your HVAC system (visible in ducts or registers)
- The moisture source was sewage or category 3 water — not just clean-water leaks
- Multiple rooms or structural members are affected
- Any household member has respiratory illness, asthma, or a compromised immune system
For HVAC-related mold, see mold in your air ducts — the proven treatment path.
What professional mold remediation costs
Professional mold remediation for wood and structural surfaces typically runs $500–$6,000 depending on scope, with isolated stud remediation often in the $800–$2,500 range.
For a room-by-room cost breakdown, see mold remediation cost by room, and check whether your homeowners insurance covers mold remediation before paying out of pocket.
If you are still weighing DIY vs. professional options, here’s exactly when DIY mold removal is the right call — a direct comparison that walks you through the decision criteria, and how to find a mold remediation company you can trust if you decide to go pro.
Mold health risks and safety precautions
Mold is not uniformly dangerous — but it is never harmless, and a few specific conditions make it genuinely serious.
What mold exposure does to your health
Mold spores, when inhaled during disturbance, cause symptoms ranging from nasal congestion and eye irritation to persistent coughing and worsening asthma.
Black mold species that produce mycotoxins — including some Stachybotrys strains — carry a higher risk of respiratory inflammation, particularly with prolonged exposure.
The CDC’s guidance on mold health effects notes that even non-toxic mold species cause allergic reactions in sensitive individuals, and that exposure should be minimized regardless of mold type.
Who should never clean mold themselves
⚠️ Warning: The following groups should not participate in any mold cleanup and should vacate the space during remediation: people with asthma or COPD, those with mold allergies, anyone with a weakened immune system (chemotherapy, HIV, organ transplant), and pregnant individuals. The CDC identifies these as high-risk populations for mold-related health complications.
💡 Expert Note — Reviewed by Angela Brooks, Certified Indoor Air Quality Consultant: “The most common mistake I see in DIY mold projects is treating health precautions as optional. They are not. An N95 respirator and sealed goggles are the baseline for any mold disturbance — not just for black mold, but for any visible mold growth.”
For bathroom-specific mold scenarios that frequently affect vulnerable household members, see bathroom mold removal: grout, caulk, and walls.
Frequently asked questions about mold removal from wood
1. What kills mold on wood permanently?
Borax solution (one cup per gallon of water) or an EPA-registered antimicrobial like Concrobium kills mold on wood permanently by penetrating the grain and eliminating the root system. Permanent results also require fixing the moisture source and keeping wood moisture content below 16% — without that, any treatment is temporary.
2. Does bleach kill mold on wood?
Bleach does not effectively kill mold on porous wood. The water in bleach evaporates at the surface while the chlorine kills visible spores but cannot penetrate to the mold’s root system in the grain. Mold treated with bleach on wood typically regrows within weeks. Use borax or an EPA-registered antimicrobial instead.
3. Can mold on wood studs make you sick?
Yes. Mold on wood studs releases spores into the air when disturbed and during normal HVAC operation. Exposure causes respiratory irritation, allergic reactions, and — in cases involving toxin-producing species — more serious symptoms. People with asthma, allergies, or compromised immune systems face the highest risk.
4. How do you remove mold from wood without bleach?
To remove mold from wood without bleach, mix one cup of borax into one gallon of warm water, spray onto the affected surface, scrub with a wire brush working with the grain, then HEPA vacuum the debris. Alternatively, apply undiluted white vinegar, let it sit for one hour, then scrub and vacuum.
5. How do I know if mold is behind my walls?
Signs of mold behind walls include a persistent musty odor that intensifies near baseboards, visible staining on drywall surfaces, soft or bulging wallboard, and recent water damage to the adjacent area. A professional mold assessment using moisture meters and thermal imaging confirms what visual inspection cannot.
6. What is the best product for mold removal on wood?
The best mold removal products for wood are EPA-registered antimicrobials — Concrobium Mold Control, RMR-86, and Mold Armor are the top three. Concrobium is preferred for enclosed spaces because it produces no fumes. RMR-86 removes deep staining fastest. Borax solution is the best non-commercial option.
7. Can I paint over mold on wood?
No. Paint — including mold-resistant paint — applied over active mold will peel within months and does nothing to kill the underlying growth. The mold continues spreading beneath the paint layer. Always clean and fully dry the surface first, apply a mold-killing primer like Kilz or Zinsser BIN, then topcoat.
8. How long does it take to remove mold from wood?
A typical DIY mold removal job on a small area (under 10 sq. ft.) takes 2–4 hours for cleaning, then 24–48 hours of drying time before encapsulation. Larger structural projects — exposed stud bays with moderate mold — often require a full weekend, including drying time between steps.
9. Should I replace or clean moldy studs?
Clean moldy studs if the wood is structurally sound (passes the screwdriver firmness test), mold is surface-level, and the area is under 10 sq. ft. Replace studs if the wood is soft or crumbling, mold has penetrated deeply, or the stud has been wet repeatedly over a long period with no prior treatment.
10. What causes mold on wood studs?
Mold on wood studs is caused by sustained moisture — most commonly from plumbing leaks behind walls, condensation on cold exterior framing, poor ventilation in enclosed wall cavities, post-flood drying delays, or construction lumber installed before it fully dried to below 16% moisture content.
11. How do I prevent mold from coming back on wood?
To prevent mold recurrence on wood: fix the moisture source completely, ensure wood dries below 16% moisture content before enclosing, apply a mold-encapsulant primer after cleaning, maintain indoor humidity below 50% with a dehumidifier, and ventilate enclosed spaces regularly.
12. Is vinegar or bleach better for mold on wood?
Vinegar is significantly better than bleach for mold on wood. Undiluted white vinegar penetrates wood grain and kills mold roots, while bleach cannot penetrate porous surfaces and only kills surface-level spores. Studies show vinegar kills approximately 82% of mold species on porous surfaces.
13. How do I clean black mold off wood studs?
To clean black mold off wood studs: HEPA vacuum first, apply an EPA-registered antimicrobial or borax solution, scrub firmly with a wire brush working with the grain, HEPA vacuum again, and dry completely. Apply a mold-encapsulant primer once the wood reads below 16% moisture content. For widespread black mold, see black mold removal by surface type.
14. Do I need to replace drywall if studs have mold?
Not necessarily. If the mold on studs is isolated and the adjacent drywall shows no staining, structural softness, or odor, the drywall may be salvageable after the studs are cleaned and dried. However, drywall that has been wet for more than 48 hours, shows visible mold, or has softened should be replaced.
15. What PPE do I need for mold removal?
For mold removal PPE, you need: an N95 or P100 half-face respirator (per CDC guidelines), non-latex nitrile gloves, unvented safety goggles, and long-sleeved disposable coveralls or dedicated work clothing. Standard dust masks and latex gloves are not adequate protection for mold disturbance.
16. How much does professional mold remediation cost?
Professional mold remediation for wood and structural surfaces costs $500–$6,000 depending on scope. Isolated stud remediation in a single wall cavity typically runs $800–$2,500. Full basement or crawl space remediation can exceed $5,000. Always get three written estimates and verify the contractor is IICRC-certified.
17. Can I use a regular vacuum for mold removal?
No. A standard vacuum exhausts captured spores directly back into the air through its exhaust port, spreading contamination throughout the room. A HEPA-filtered vacuum — rated at 99.97% particle capture at 0.3 microns — is the only safe vacuum option for mold cleanup. Bag it and seal the bag before disposal.
Your next step toward a mold-free home
Take action today
You now have everything a US homeowner needs to handle this correctly: the right cleaning solution for porous wood, a verified step-by-step process, a clear DIY vs. pro threshold, and the health precautions that make the project safe.
Keep mold from coming back
The one step that determines whether mold returns is simple — eliminate the moisture source before you close that wall back up.
Fix the leak, verify the wood is dry below 16% moisture content, apply the encapsulant, and maintain indoor humidity below 50%.
For everything else this home might throw at you, the mold remediation diagnostic plan is your complete reference — every location, every surface, every severity level, one guide.
Related Articles
 Mold Remediation
Here’s How Post Mold Remediation Testing Confirms It Worked
June 3, 2026 Mold Remediation
Your Realistic Mold Remediation Timeline, Day by Day
June 19, 2026 Mold Remediation
Basement Mold Is Treatable — Here’s the Proven Method
May 15, 2026 Mold Remediation
If You’ve Spotted Garage Mold, Here’s Your Fix
June 16, 2026 Mold Remediation
Your Real Mold Remediation Cost Room by Room
May 5, 2026 Mold Remediation
What a Mold Inspection Really Costs for Your Home
June 2, 2026 Mold Remediation
Black Mold Removal: Steps for Each Surface Type
May 7, 2026 Mold Remediation
Understanding Landlord Mold Responsibility in Your Rental
May 31, 2026 Mold Remediation