Bathroom Mold Removal: Grout, Caulk, and Walls Fixed
Bathroom mold removal isn’t one-size-fits-all — grout, caulk, and walls each need a different method. The 45-second cotton ball test tells you whether to clean or replace caulk.
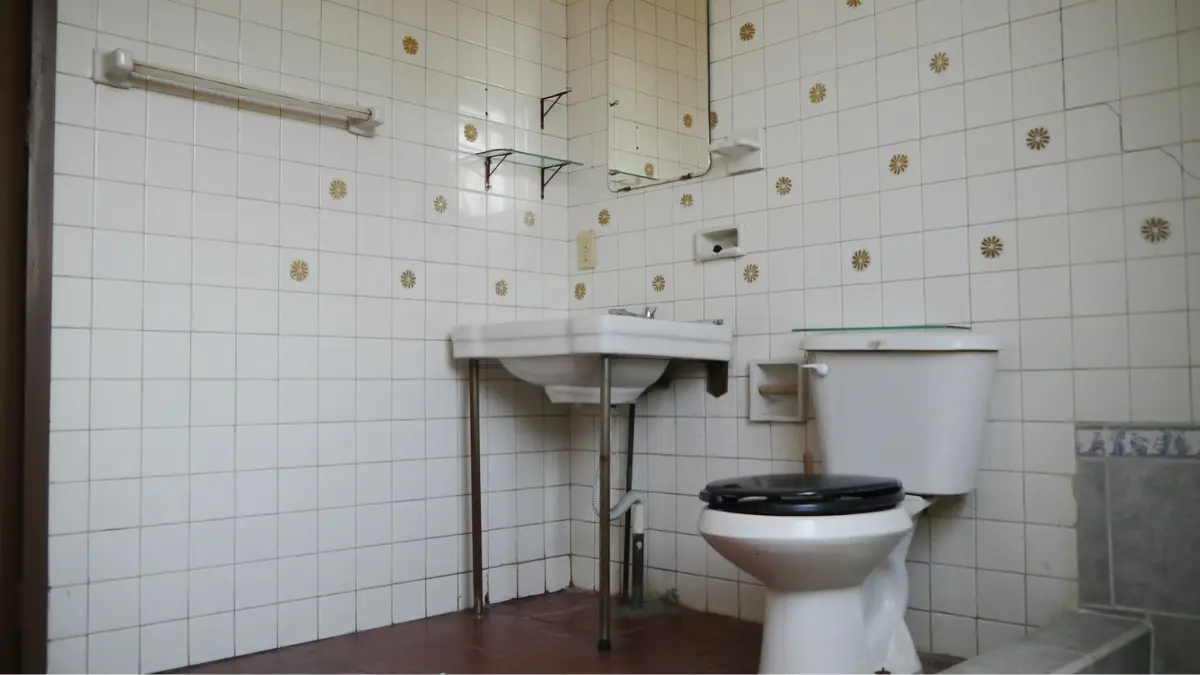
Table of Contents
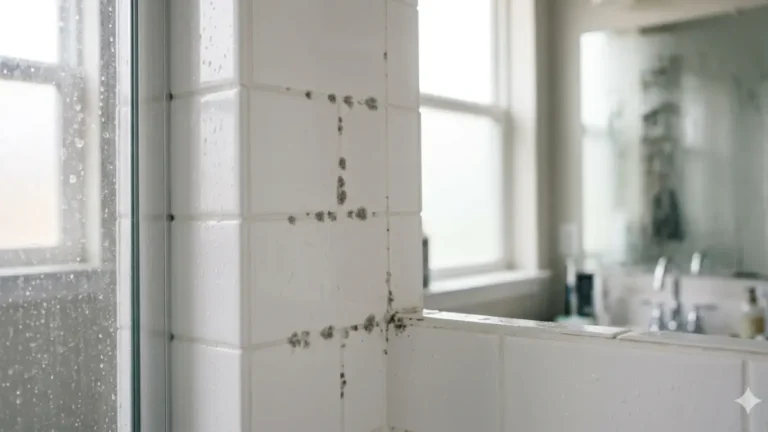
Bathroom mold is common — and very fixable
That dark line creeping along your shower grout isn’t just unsightly — it’s a sign your bathroom has a moisture control problem that won’t solve itself.
The good news: most bathroom mold is completely DIY-removable in a single afternoon.
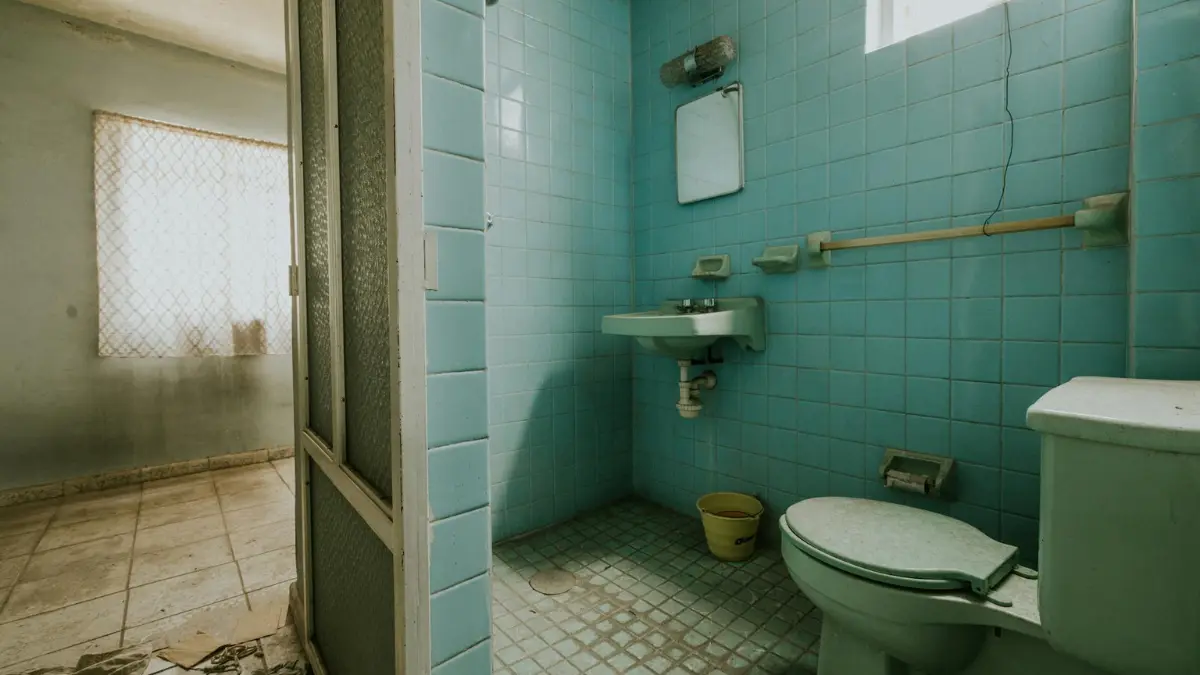
Why bathroom mold keeps coming back
Mold and mildew don’t grow randomly — they return to the same spots because the underlying conditions never changed.
Grout lines stay damp for hours after every shower. Caulk seams trap water behind them. Painted walls absorb moisture that never fully dries.
What this guide covers: grout, caulk, and walls
Grout, caulk, and painted walls are three different surfaces requiring three different removal approaches — and that’s exactly what most guides get wrong.
This article gives you a surface-specific battle plan for each one, plus the safety rules and prevention steps that make this a one-time project.
Understanding bathroom mold: types and causes
The cleaning agent you choose matters as much as how hard you scrub — so understanding what you’re dealing with first saves you wasted effort.
Mold vs. mildew: what’s actually growing in your bathroom
Mold and mildew are both fungi, but they behave differently. Mildew is flat, powdery, and grey or white — it lives on surfaces and responds well to most cleaners. Mold grows in raised, circular colonies, often black or green, and sends roots into porous materials like grout.
That root system is why bleach alone isn’t the guaranteed fix most people expect.
Why grout and caulk are mold magnets
Shower grout is porous cement — it absorbs water with every shower and stays damp for hours. Caulk seams, even intact ones, create micro-gaps where water sits against the wall.
Both surfaces stay warm, wet, and dim — exactly what mold spores need to colonize within 24 to 48 hours.
The cleaning agent showdown: bleach, vinegar, and hydrogen peroxide
The best agent depends on your surface — not just the mold. Here’s how the main options compare:
| Cleaning Agent | Best Surface | Kills at Root | Safe on Grout | Safe on Painted Walls | Natural |
|---|---|---|---|---|---|
| Bleach (diluted 1:3) | Non-porous tile, tubs | No (surface only on porous) | Yes, with care | Yes, diluted | No |
| Hydrogen Peroxide (3%) | Grout, tile | Partial | Yes | Yes | Yes |
| White Vinegar (undiluted) | Grout, walls | Yes (82% of species) | Yes | Yes | Yes |
| Baking Soda Paste | Grout, caulk (scrub) | No (mechanical removal) | Yes | Yes | Yes |
Source: EPA mold guidelines; Beyond Toxics natural mold treatment
💡 Expert Note: Bleach kills mold on contact on non-porous surfaces like tile glazing, but it does not penetrate porous cement grout to kill the root. For grout specifically, hydrogen peroxide or vinegar penetrates deeper and delivers more lasting results.
For stubborn mold that resists all home remedies, a commercial mold remover such as Mold Armor or RMR-86 is the most powerful over-the-counter option available.
Before you start any removal, it’s worth reading our complete DIY mold removal guide to understand exactly when a DIY approach is the right call for your situation.
How to remove mold from bathroom grout
Bathroom mold removal from grout is the most searched surface problem — and the most mishandled, because most people rinse too soon and scrub too lightly.
What you’ll need: tools and products
Gather everything before you start so you’re not touching surfaces mid-process:
- Stiff grout brush or old toothbrush (an OXO Good Grips brush cuts cleaning time significantly)
- Spray bottle
- Bleach (standard household chlorine bleach, not “splash-less”)
- Hydrogen peroxide (3% solution, standard pharmacy shelf)
- Baking soda
- Paper towels or old rags
- N95 respirator, rubber gloves, safety glasses⚠️ Warning: Never mix bleach and hydrogen peroxide, and never mix bleach and vinegar. Both combinations produce toxic chlorine or chlorine dioxide gas. Choose one cleaning agent and use it exclusively for that cleaning session.
Step-by-step grout mold removal (bleach method)
To remove mold from bathroom grout, follow these five steps:
- Ventilate — open a window, turn on the exhaust fan, and put on your N95 mask, gloves, and glasses before touching anything.
- Mix your solution — combine 1 part bleach with 2 parts water in a spray bottle for a standard clean, or mix bleach with baking soda to a thick paste for deep-stained lines.
- Apply and dwell — spray or spread the paste directly onto the grout lines and let it sit for a minimum of 10 minutes (30 minutes for heavily stained grout). For tight crevices, lay paper towels soaked in the bleach solution directly over the grout and press down — this keeps the bleach in contact with the surface instead of running off.
- Scrub — work the toothbrush in short, firm strokes along the grout line direction; circular scrubbing spreads mold spores rather than removing them.
- Rinse thoroughly — flush with clean water, dry the surface, then inspect. If the grout has lightened, the mold is gone. If it hasn’t lightened at all after two full treatments, the mold has penetrated too deep for surface cleaning.
Natural alternative: hydrogen peroxide for grout mold
Hydrogen peroxide is the better choice for colored or decorative grout where bleach risks fading. Apply undiluted 3% peroxide directly to the grout, let it foam for 15 minutes, then scrub and rinse.
It works more slowly than bleach but penetrates the grout more effectively — a second application the following day often removes residual staining that bleach left behind.
When to re-grout instead of clean
If grout doesn’t lighten after two full bleach or peroxide treatments, the mold root system has grown deeper than any surface cleaner can reach.
Re-grouting is the correct answer at that point — not more product. After replacing the grout, learn how to seal bathroom grout to prevent the cycle from starting again.
✅ Pro Tip: The paper towel soaking trick — laying bleach-saturated paper towels directly on horizontal grout lines — is the most reliable method for achieving full dwell time without constant reapplication. Leave them on for 30 minutes and you’ll often see results that 10 minutes of spray never produced.
How to remove mold from bathroom caulk
Caulk is where most homeowners waste the most time — scrubbing a surface that can’t be saved when the caulk should simply be replaced.
The bleach cotton-ball test: clean it or replace it?
Before reaching for a brush, run this diagnostic first.
Soak a cotton ball in undiluted bleach and press it onto the moldy caulk surface. Hold it there for 45 seconds, then check the caulk underneath.
If the mold fades noticeably in under 10 seconds, it’s surface mold — cleaning will work. If the mold is still clearly visible after 45 seconds, the mold has grown under or through the caulk, and no amount of surface cleaning will fully remove it. Replace the caulk.
💡 Expert Note: This cotton-ball bleach test is the method used by professional sealant applicators to triage bathroom caulk. It takes 45 seconds and saves hours of futile scrubbing.
How to clean surface mold from caulk
For surface mold on caulk that the bleach test confirms is cleanable:
- Apply a baking soda-bleach paste (same paste as the grout method) directly to the caulk line using an old toothbrush.
- Let it sit for 30 minutes — do not rush this step.
- Scrub along the length of the caulk seam and rinse with clean water.
- Dry the surface completely and inspect. If any dark staining remains in the caulk texture, repeat once more.
How to remove and replace moldy caulk (step-by-step)
Recaulking a shower takes about two hours total (including dry time) and produces a permanently clean result that no cleaning method can match.
- Use a plastic caulk removal tool or utility knife to score and pull the old caulk away from both surfaces — take your time here, leaving any old caulk behind creates a poor adhesion surface for the new bead.
- Clean the gap with rubbing alcohol on a cotton swab to remove residue and kill any remaining mold spores.
- Allow the gap to dry completely — a minimum of 2 hours, or overnight if possible.
- Apply painter’s tape to both edges of the gap for a clean bead line.
- Load a mold-resistant caulk (100% silicone formula such as GE Supreme Silicone is the top performer for bathroom longevity) into a caulk gun and apply in one smooth, continuous bead.
- Smooth the bead with a wet finger or caulk tool, pull the tape immediately before the caulk skins over, and leave it to cure for 24 hours before exposing to water.⚠️ Warning: If the tiles shift or feel loose while you’re removing old caulk, stop immediately. Loose tiles mean mold may be growing behind the wall substrate — that’s a job for a professional, not a recaulk.
For the full recaulk walkthrough with photos, the article how to recaulk your shower walks through every step in detail.
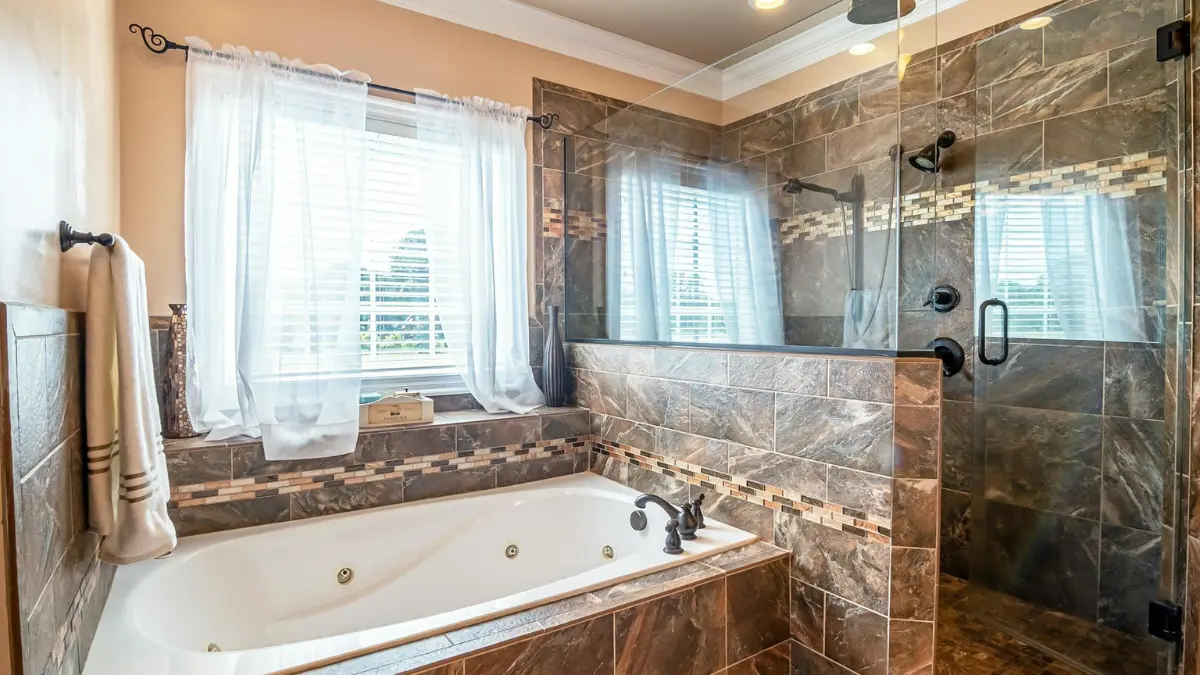
How to remove mold from bathroom walls
Bathroom wall mold splits into two completely different scenarios — tiled walls and painted drywall — and the treatment for each is not interchangeable.
Mold on tiled walls: step-by-step removal
Tiled walls are the easier case. The tile face is non-porous; mold grows on the grout lines and at the tile edges but rarely penetrates the tile itself.
To remove mold from tiled bathroom walls:
- Apply a diluted bleach solution (1 part bleach, 3 parts water) to the affected tiles and grout using a spray bottle.
- Let it dwell for 10 to 15 minutes.
- Scrub with a stiff brush, working from the top of the wall downward so dirty water doesn’t drip over cleaned areas.
- Rinse the wall completely and dry with a microfiber cloth — leaving the wall wet after cleaning is how mold starts its next cycle within hours.
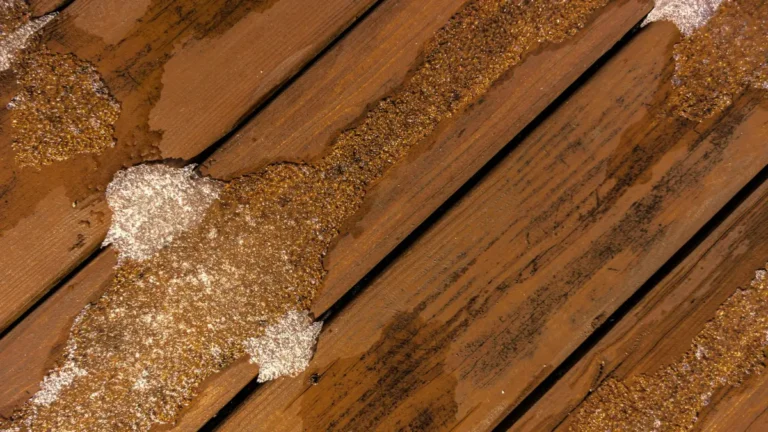
Mold on painted drywall: when cleaning becomes a warning sign
Painted drywall mold is categorically different from tile mold. Drywall is porous — mold sends roots through the paint layer and into the gypsum within days.
To remove mold on painted walls, apply a bleach-water solution (1:3 ratio), let it sit for 10 to 15 minutes, and scrub gently. Stop immediately if the paint bubbles, the wall feels soft, or you see discoloration spreading beyond the original patch.
Soft drywall means mold has grown into the wall cavity — cleaning the surface is pointless at that stage.
⚠️ Warning: Visible mold on painted drywall plus any soft spots or loose wall tiles together indicate structural mold behind the surface. Do not continue DIY removal — this requires professional mold remediation. See our guide to finding a mold remediation company you can trust before proceeding.
Mold-resistant paint: the prevention upgrade
Once the wall is clean and fully dry, apply a mold-resistant paint such as KILZ Premium or Zinsser Perma-White as your final step.
These paints contain antimicrobial additives that suppress new mold growth in humid environments — one coat adds meaningful protection that regular bathroom paint simply doesn’t provide.
A proper bathroom maintenance plan includes repainting with a mold-resistant formula every 5 to 7 years.
Safety rules and when to call a professional
Knowing when to stop a DIY job is just as important as knowing how to start one.
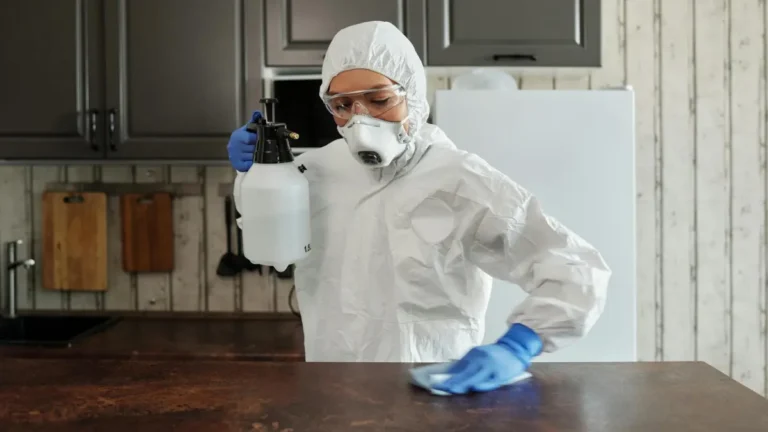
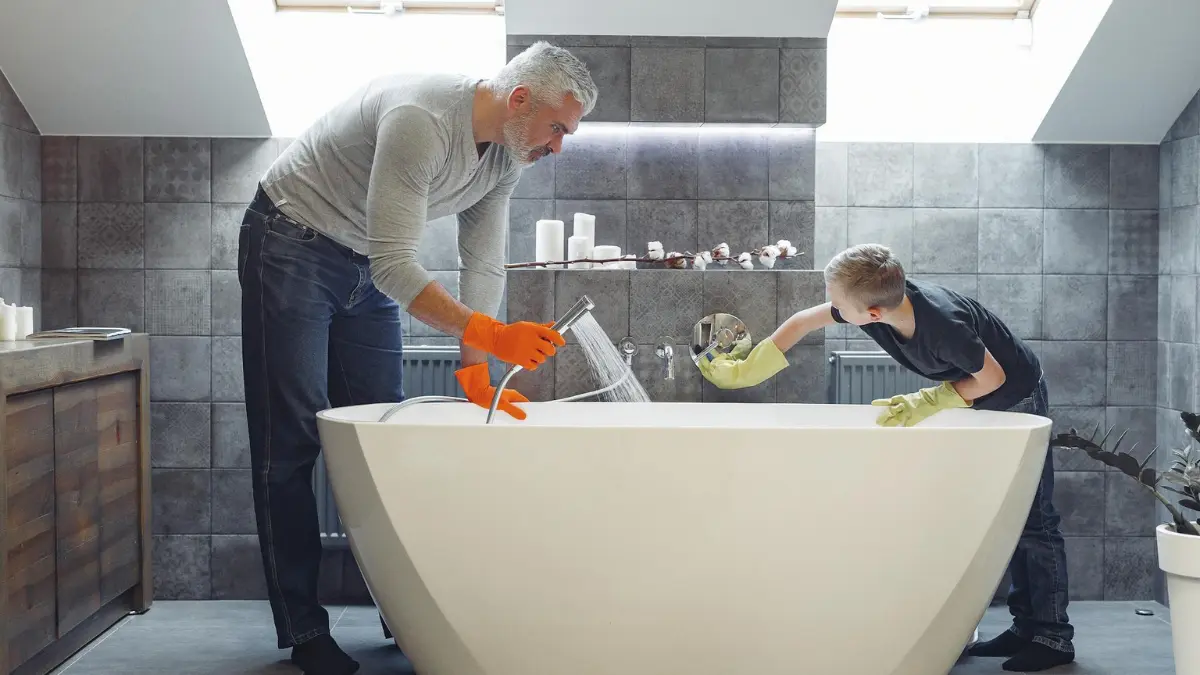
Personal protective equipment (PPE) every DIY cleaner needs
Put this gear on before opening any cleaning product:
- N95 respirator — standard dust masks do not filter mold spores
- Rubber gloves that cover the wrists
- Safety glasses or goggles
- Ventilation running (exhaust fan plus open window) for the full duration of cleaning
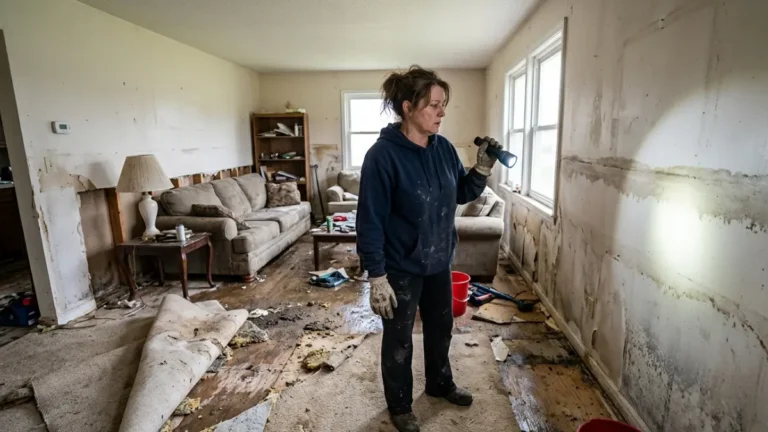
The EPA 10-square-foot rule for DIY mold removal
The EPA recommends that homeowners handle mold removal themselves only when the affected area is smaller than 10 square feet — roughly a 3×3 ft patch — and not located on drywall or structural materials. According to the EPA’s mold cleanup guidelines for homeowners, anything larger warrants professional assessment.
Bathroom mold that fits within a 10 sq ft area, stays on non-porous tile or caulk surfaces, and is not returning repeatedly after treatment is safe to handle yourself.
Black mold (Stachybotrys): what to do if you find it
Stachybotrys is the toxic black mold species that generates the most concern — it’s slimy, black-green, and carries a strongly musty odor. The CDC’s guidance on mold and health notes it poses heightened risks for people with asthma, allergies, or compromised immune systems.
If you find a slimy, rapidly expanding black mold patch in a shower corner or at a wall-floor junction, don’t disturb it. Call a certified mold inspector first.
The “call a pro” checklist
Stop DIY removal and contact a professional if any of these conditions are true:
- Mold covers more than 10 square feet of surface area
- Drywall or subflooring feels soft to the touch
- Tiles shift or feel loose when pressed
- The same mold patch has returned three or more times after treatment
- Anyone in the household is experiencing respiratory symptoms, persistent coughing, or eye irritation
- The mold is slimy and dark with a strong musty odor in a previously undisturbed area
If mold removal costs are a concern, our mold remediation cost breakdown by room gives you real numbers so you can plan before making calls.
You should also check whether your homeowners insurance covers mold remediation before paying out of pocket — many policies include partial coverage that homeowners overlook.
ℹ️ Disclaimer: This article covers surface-level DIY bathroom mold removal. Structural mold, black mold colonies, and mold affecting HVAC systems require licensed mold remediation professionals. Always consult a certified inspector when in doubt.
How to prevent bathroom mold permanently
The best bathroom mold removal strategy is one you never have to use again — and that starts with controlling moisture at its source.
Ventilation: the exhaust fan CFM formula
Your exhaust fan must be sized for your bathroom’s square footage, or it’s just decorative.
The industry standard formula: bathroom square footage × 1.1 = minimum CFM rating required. A 60 sq ft bathroom needs a fan rated for at least 66 CFM — most builder-grade fans installed in homes top out at 50 CFM and are underpowered from day one.
Annual grout sealing: the one task most homeowners skip
Grout sealer closes the pores in cement grout that make it a mold magnet. One coat per year, applied with a small brush or roller after a thorough clean, dramatically reduces moisture absorption.
After sealing, water should bead on the grout surface — if it soaks in immediately, the sealer has worn off and mold season has begun.
Daily habits that stop mold before it starts
These five habits eliminate the conditions mold needs to survive:
- Run the exhaust fan for 20 minutes after every shower — not just during it
- Squeegee tiled walls after showering; 80% of the moisture mold feeds on leaves with the water droplets
- Wash bath mats weekly; they trap moisture against the floor for hours
- Fix any dripping faucet or slow drain immediately — even a slow leak keeps grout perpetually damp
- Replace mold-resistant caulk every 2 to 3 years before the silicone breaks down and creates micro-gaps
The Allergy and Asthma Foundation of America identifies regular cleaning combined with moisture reduction as the single most effective defense against indoor mold growth.
Bathroom mold removal: frequently asked questions
1. What kills mold in the bathroom?
Diluted bleach (1 part bleach to 3 parts water), hydrogen peroxide (3%), and undiluted white vinegar are the most effective agents for killing bathroom mold. Bleach works best on non-porous tile surfaces. Hydrogen peroxide and vinegar penetrate porous grout more effectively. For severe mold, commercial removers like Mold Armor or RMR-86 deliver the fastest results.
2. How do I remove black mold from shower grout?
To remove black mold from shower grout, apply a bleach-baking soda paste to the grout lines, let it sit for 30 minutes, then scrub with a stiff grout brush and rinse thoroughly. For a natural option, apply undiluted 3% hydrogen peroxide, let it foam for 15 minutes, then scrub. Two treatments resolve most cases.
3. Can I use bleach on bathroom grout?
Yes, diluted bleach is safe on standard cement grout — use a 1:2 bleach-to-water ratio. Avoid bleach on colored or epoxy grout, as it can cause fading or damage. Never use bleach on natural stone tile grout such as marble or travertine, as it etches the surface. Always ventilate and wear gloves.
4. How do I remove mold from shower caulk without replacing it?
Apply a baking soda and bleach paste to the moldy caulk, let it sit for 30 minutes, then scrub and rinse. This works for surface mold only — run the cotton ball bleach test first. Press a bleach-soaked cotton ball to the caulk for 45 seconds; if mold doesn’t fade, the mold is under the caulk and replacement is the only effective solution.
5. When should I replace bathroom caulk instead of cleaning it?
Replace bathroom caulk when the cotton ball bleach test shows mold still visible after 45 seconds of contact — this confirms mold has grown beneath the caulk surface. Also replace caulk that is cracked, pulling away from the wall, or has been treated more than twice without lasting results. Mold-resistant 100% silicone caulk is the correct replacement material.
6. How do I get mold off painted bathroom walls?
Mix 1 part bleach with 3 parts water and apply to the mold on painted walls with a sponge. Let it sit for 10 to 15 minutes, then scrub gently and rinse. Stop immediately if the paint bubbles or the wall feels soft — soft drywall signals mold behind the wall that requires professional remediation, not surface cleaning.
7. Is black mold in the bathroom dangerous?
Black mold in bathrooms, particularly Stachybotrys, poses real health risks — especially for people with asthma, allergies, or weakened immune systems. According to the CDC, symptoms include respiratory irritation, coughing, and eye inflammation. Most bathroom mold is not Stachybotrys, but slimy, rapidly expanding black colonies with a strong musty odor should be assessed by a certified mold inspector.
8. What is the EPA 10-square-foot rule for mold removal?
The EPA recommends that DIY mold removal is appropriate only when the affected area is smaller than 10 square feet — approximately 3 feet by 3 feet. Mold covering a larger area, or any mold on drywall or structural materials, warrants professional remediation. This guideline protects against accidental overexposure to mold spores during removal.
9. What is the best cleaner for bathroom mold?
The best bathroom mold cleaner depends on the surface. For tile and non-porous surfaces, diluted bleach removes mold fastest. For porous grout, hydrogen peroxide provides better root penetration. For an all-natural option that works on any surface, undiluted white vinegar kills approximately 82% of mold species. Commercial products like RMR-86 work fastest for severe infestations.
10. Does vinegar or bleach work better on bathroom mold?
For non-porous surfaces like tile, bleach removes mold faster. For porous grout, white vinegar penetrates more deeply and kills mold at the root rather than just whitening the surface. Vinegar is also safer for colored grout, painted walls, and natural stone. Never mix the two — the combination produces toxic chlorine gas.
11. How do I stop mold from coming back in the bathroom?
Preventing bathroom mold from returning requires controlling moisture at its source. Run the exhaust fan for 20 minutes after every shower, squeegee walls after bathing, seal grout annually, replace caulk every 2 to 3 years, and fix any drips or leaks immediately. Upgrading to mold-resistant caulk and antimicrobial paint adds a lasting chemical barrier.
12. How do I seal grout to prevent mold?
Apply a penetrating grout sealer using a small brush directly onto clean, dry grout lines. Work in manageable sections and wipe off excess from tile faces within 5 minutes. Let it cure for 24 hours before exposing to water. Reseal annually — test by dropping water on the grout; if it soaks in rather than beading, the sealant has worn off.
13. What causes mold in bathrooms?
Bathroom mold grows wherever moisture, warmth, and organic material (soap residue, skin cells) combine — conditions that describe every standard shower. Inadequate ventilation, underpowered exhaust fans, slow-draining fixtures, cracked caulk, and unsealed grout all allow moisture to persist long enough for mold spores to colonize within 24 to 48 hours.
14. Should I call a professional for bathroom mold?
Call a professional if the mold-affected area exceeds 10 square feet, the drywall feels soft, tiles shift when touched, the mold returns repeatedly after treatment, or anyone in the household has respiratory symptoms. For help finding qualified help, our guide to hiring a mold remediation company covers every question to ask before signing a contract.
15. Does hydrogen peroxide remove mold from grout?
Yes — hydrogen peroxide (3% standard pharmacy solution) effectively removes mold from bathroom grout. Apply it undiluted directly to the affected grout lines, allow it to foam for 15 minutes, then scrub with a stiff brush and rinse. It penetrates porous cement grout more effectively than bleach and won’t fade colored grout.
16. How long does bathroom mold removal take?
Bathroom mold removal for a standard shower typically takes 30 to 90 minutes of active work, depending on severity. Bleach methods require 10 to 30 minutes of dwell time. A full caulk replacement project takes approximately 2 hours plus 24 hours of cure time. Drywall mold removal, if the area is DIY-appropriate, takes 30 to 45 minutes plus drying time.
17. Can mold behind bathroom tiles make you sick?
Yes — mold behind bathroom tiles releases spores into the air through micro-gaps in grout and caulk, even when the surface looks intact. According to the CDC, mold exposure causes respiratory symptoms, eye irritation, and skin reactions in sensitive individuals. Loose tiles, persistent musty odor, or recurring surface mold despite repeated treatment are the key signals of hidden mold behind the wall.
Your bathroom can stay mold-free — here’s the plan
You now have a surface-specific plan for every bathroom mold scenario: a five-step grout removal method, a diagnostic test for caulk, separate protocols for tiled and painted walls, and a prevention system that attacks the root cause.
DIY mold removal handles most bathroom situations safely and effectively. The key is matching the method to the surface and knowing exactly when a problem has grown beyond a weekend project.
For a complete picture of every mold-related decision a homeowner might face — from surface cleaning to structural remediation — our mold remediation diagnostic plan is the place to start.
If in doubt about what you’ve found, professional advice is always the right call.