
Get Rid of Bed Bugs Yourself the Right Way at Home

Getting rid of bed bugs yourself can work for early infestations—if you avoid the dangerous shortcuts. See the real method and when to call a pro instead.
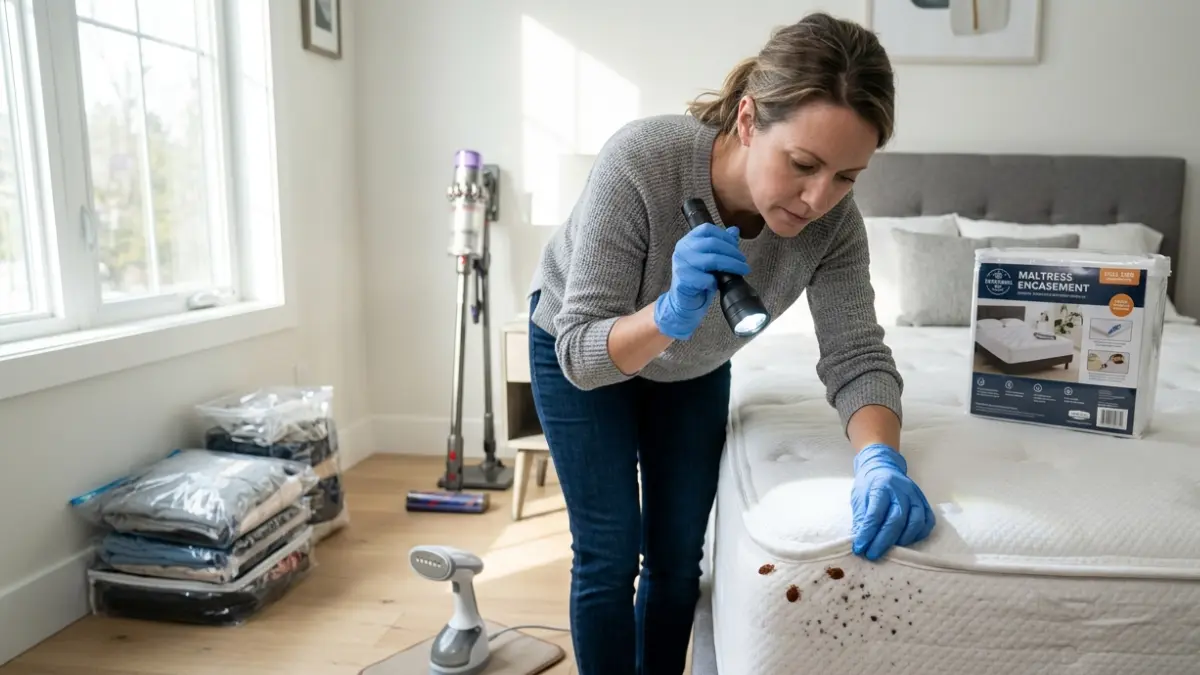
Table of Contents
Can you really get rid of bed bugs yourself?
Yes, you can often get rid of bed bugs yourself — but only if you catch the infestation early and commit to weeks of careful, repeated work.
If you’ve just spotted a few bugs or bites and you’re weighing your options, this guide is built for three situations. A light, early infestation in a single bedroom makes you a strong candidate for do-it-yourself treatment, and the steps below will work. A heavy infestation spread across several rooms — or any infestation in an apartment building — usually needs more than DIY, so skip ahead to when to call a professional. And if anyone in your home is an infant, elderly, pregnant, or immunocompromised, treat chemical use as a professional’s job from the start.
Here’s the reassuring part: bed bugs aren’t known to spread disease, so you have time to do this right rather than fast, and it helps to understand what bed bugs actually do and don’t do to your health. The hard truth is that the EPA is clear getting rid of bed bugs takes weeks to months and often more than one round of treatment. This guide walks through the full method, what to buy, what it costs, and the dangerous shortcuts to avoid — and for the wider overview, start with our safe 5-step bed bug plan.
ℹ️ Safety Note: Getting rid of bed bugs can involve pesticides, heat, and steam, all of which carry real risks. The CDC has documented poisonings — including one death — from people misusing bed bug pesticides. Use only products labeled for bed bugs and for indoor use, follow the label exactly (it is legally binding), never use outdoor or garden pesticides indoors, and hire a certified professional the moment chemicals feel necessary. Heat and steam can burn skin or start a fire if mishandled.
Why bed bugs are so hard to kill on your own
Bed bugs survive casual DIY attempts because their biology is built for exactly this fight.
Eggs survive what kills adults
A female lays white, pinhead-sized eggs tucked deep into cracks and seams, and those eggs are far harder to reach and kill than the adults crawling in the open. The EPA notes that finding and killing every egg is one of the hardest parts of control, which is why bed bug eggs routinely survive a first treatment and hatch days later.
🔍 Why It Works: Eggs are glued into hidden spots and resist many sprays, so a single chemical pass kills the adults you can reach but leaves the next generation waiting to hatch. That gap is what turns a one-time effort into a failed one.
Resistance and reinfestation
Many bed bug populations are now resistant to the pyrethroid insecticides sold over the counter, so the spray that worked a decade ago may barely dent them today. They also survive a remarkably long time between meals — up to about a year in some conditions — which is why bed bugs can live without feeding long enough to re-emerge after you think they’re gone.
Why one treatment is never enough
Between hidden eggs, chemical resistance, and survivors in untreated cracks, the EPA is explicit that you’ll likely need to repeat treatment and keep checking for up to a year. The mindset that works is a campaign over several weeks, not a single afternoon — which is exactly why the step-by-step method below is built around persistence.
The do-it-yourself bed bug treatment process, step by step
To get rid of bed bugs yourself, work through these steps in order rather than jumping straight to a spray:
- Confirm it’s bed bugs and make a written plan.
- Declutter, then launder and heat-treat fabrics.
- Vacuum, steam, and seal cracks.
- Encase the mattress and install interceptors.
- Monitor and repeat for up to a year.
Step 1: Confirm it’s bed bugs and make a plan
Before you spend a dollar, make sure you actually have bed bugs, because the wrong treatment wastes weeks. University of Minnesota Extension found that 76% of samples people submit for identification aren’t bed bugs at all, so capture a specimen and get it confirmed — a local extension office will identify it for free.
💡 Pro Tip: Extension entomologists recommend mapping where you find live bugs, shed skins, and rust-colored spotting before you treat, since knowing where bed bugs hide tells you exactly where to aim your steam and dust. If you’re not sure what to look for, here’s how to check for bed bugs the right way.
Step 2: Declutter, launder, and heat-treat
Reduce clutter first so bugs have fewer hiding places, bagging items as you go and sealing the bags so you don’t spread them room to room. Wash bedding and clothing, then run them through a high-heat dryer, because heat — not water — is what kills every life stage.
📊 Tested / Spec (sourced): The EPA reports a household dryer on high heat for 30 minutes kills bed bugs and their eggs, while washing alone often does not. For items that can’t go in a dryer, the EPA’s IPM guidance calls for heating them to at least 120°F (49°C) for 90 minutes to be sure eggs die.
⚠️ Watch Out: Never try to “bake” a room by cranking the thermostat or running a propane space heater or fireplace. The EPA warns this does not reach the temperatures needed, does not work, and is dangerous — a leading cause of house fires during DIY pest control.
Step 3: Vacuum, steam, and seal cracks
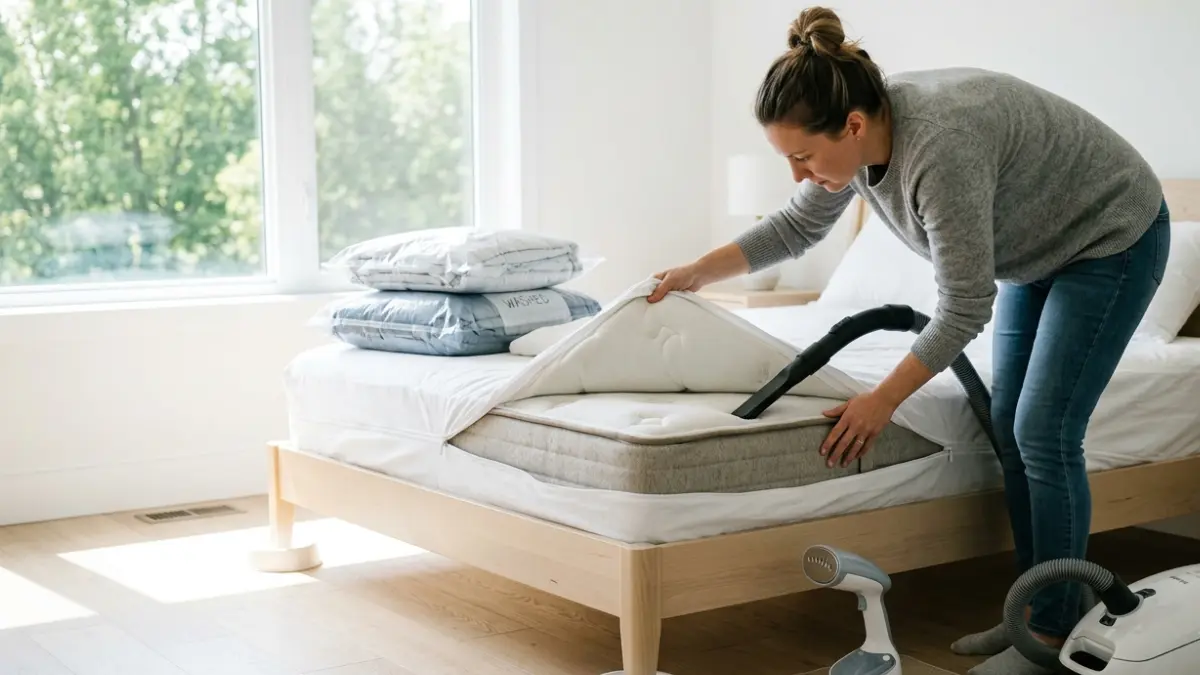
Vacuum mattress seams, baseboards, and furniture joints thoroughly, then immediately seal the vacuum bag in plastic and put it in an outdoor trash bin so nothing escapes. Follow with a steamer, since the EPA notes steam reaches into the cracks and fabric folds where bugs and eggs hide, and finish by caulking cracks and crevices to eliminate harborage. You can read the EPA’s full sequence in its do-it-yourself bed bug steps.
Step 4: Encase the mattress and install interceptors
Seal your mattress and box spring inside bed-bug-proof encasements, which trap any bugs already inside so they eventually starve. Place interceptor cups under every bed leg, pull the bed away from the wall, and make sure no bedding touches the floor — now the only path to you is up a leg and into a trap.
Step 5: Monitor and repeat
Check your interceptors and re-inspect every few days, and expect to treat more than once as hidden eggs hatch. The EPA’s integrated pest management guidance is blunt that complete control takes weeks to months and continued monitoring for up to a year.
Using bed bug sprays and powders safely
This is the part of DIY where people get hurt, so the goal here is general guidance and caution, not a recipe.
Desiccant dusts: how they work
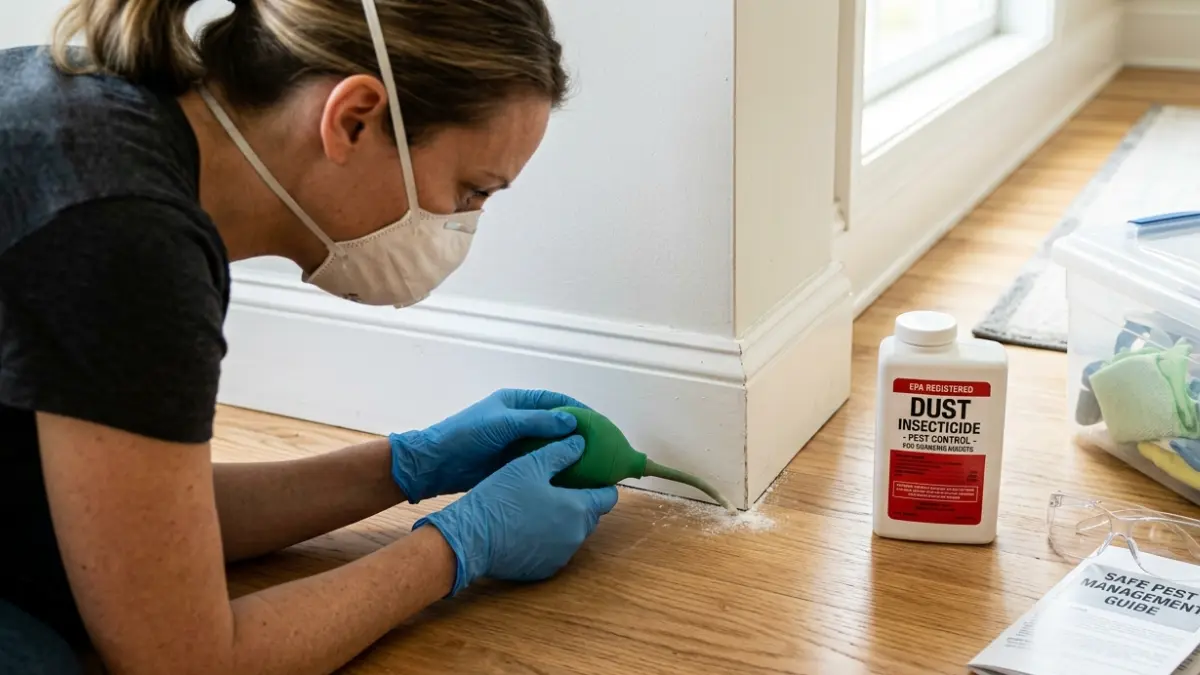
The most reliable DIY chemical option is an EPA-registered desiccant dust — diatomaceous earth or silica gel — applied only as the label directs.
🔍 Why It Works: Desiccant dusts kill by drying the bug out, absorbing the waxy, water-sealing layer of its shell, so unlike conventional sprays, bed bugs can’t evolve resistance to the mechanism. The trade-off is speed: research shows silica gel can take a few days while diatomaceous earth can take up to two weeks, and a thick, visible layer actually repels bugs instead of killing them.
⚠️ Watch Out: Apply desiccant dust in a barely visible film inside cracks and crevices, never broadcast across floors or bedding. The National Pesticide Information Center warns that inhaling the dust can irritate your nose, eyes, and lungs, and that some products contain crystalline silica, so use a product registered for bed bugs, keep people and pets away during application, and wear a dust mask. You can read the specifics on the NPIC diatomaceous earth fact sheet.
EPA-registered sprays as a supplement
Liquid contact sprays registered for bed bugs can help on surfaces, but they only kill bugs they directly hit and won’t reach the ones tucked in seams and wall voids. Treat any spray as one supporting tool inside the full plan above — not the plan itself — and read every word of the label before opening it, because the label is the law.
What you should never do
This list matters more than any product recommendation:
- Never use foggers or “bug bombs” as your solution. The EPA and University of Minnesota Extension both find total-release foggers don’t reach hidden bugs, are easy to overuse, and are potentially flammable.
- Never use outdoor, garden, or agricultural pesticides indoors. This is exactly the misuse the CDC documented in poisonings — including the one death, a North Carolina woman whose home was treated with a product not meant for bed bugs.
- Never use rubbing alcohol, kerosene, or gasoline. The EPA flags these as ineffective and a serious fire hazard.
✅ Do This: The CDC’s own guidance is that needing pesticides usually signals a complex infestation, so the safe move is to call a licensed, certified applicator who uses integrated pest management. You can read the documented illness data in the CDC’s report on bed bug insecticide poisonings before you decide to spray anything yourself.
What you’ll need and what DIY bed bug treatment costs
DIY wins on price for an early infestation — here’s the realistic cost picture so you can budget honestly.
Your DIY bed bug kit
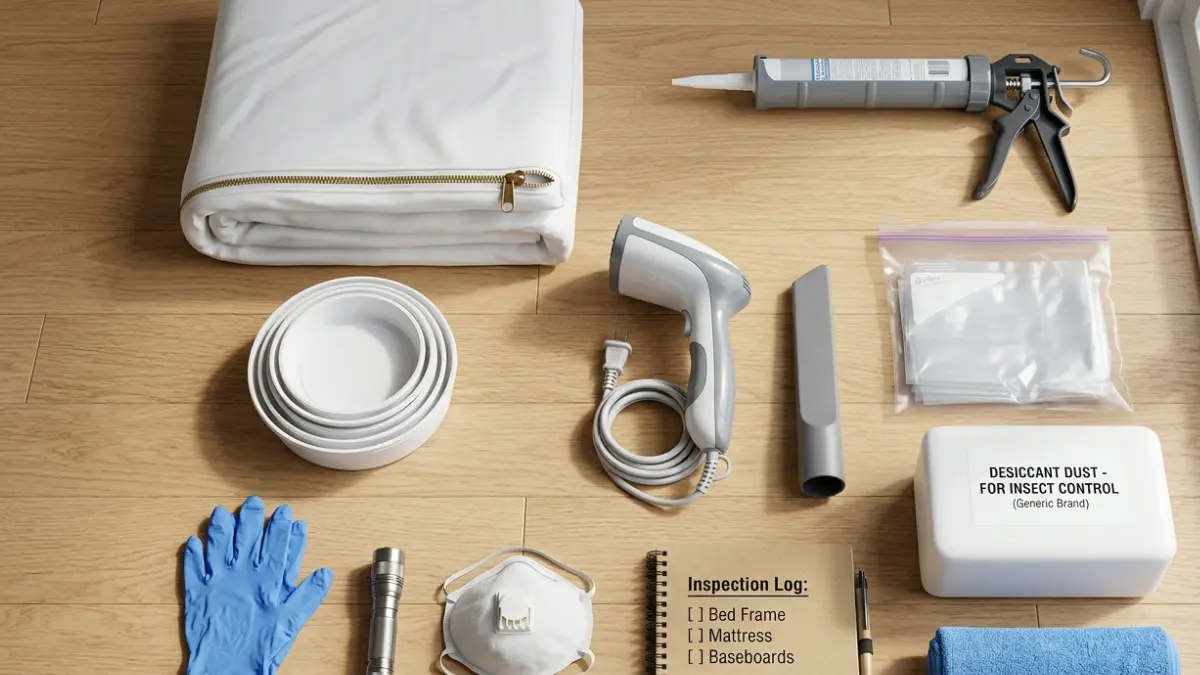
A workable kit is a short list: bed-bug-rated encasements, interceptor cups, an EPA-registered desiccant dust, a steamer with enough output to treat fabric, a vacuum (ideally HEPA), sealable bags, and caulk.


🛒 Our Pick: A bed-bug-rated mattress and box-spring encasement — not a generic dust-mite cover — plus a set of interceptor cups that catch the most bugs under each bed leg. We may earn a commission from links in this section, at no extra cost to you. These are category recommendations based on EPA and extension guidance; we have not lab-tested specific brands.
DIY cost vs. hiring a professional
| Approach | Typical cost range | What it covers | Best for |
|---|---|---|---|
| DIY kit (full) | ~$150–$400 | Encasements, interceptors, desiccant dust, steamer, bags, caulk | Light, early, single-room infestations |
| Pro — single room, chemical | ~$300–$600 | Inspection + targeted treatment, usually 2–3 visits | Moderate infestation, one main area |
| Pro — whole home, chemical | ~$1,000–$2,500+ | Multi-room treatment across several visits | Spread or multi-unit infestations |
| Pro — whole-home heat | ~$1,200–$3,000+ | One-day thermal treatment of the structure | Heavy infestations; fastest knockdown |
Cost ranges are researched estimates and vary widely by region, home size, and infestation severity — confirm current local pricing before budgeting. University of Minnesota Extension notes a thorough professional insecticide treatment typically requires two to three visits, since one pass rarely kills them all.
Where DIY saves money — and where it doesn’t
DIY genuinely saves money when the infestation is small and contained and you’ll do the tedious, repeated work. It stops being a bargain when bugs are spread through the home or building, because a half-finished DIY job lets the infestation grow into a more expensive professional one.
Why your DIY bed bug treatment isn’t working
Most DIY “failures” are fixable mistakes, not lost causes — here’s how to course-correct instead of giving up.
The most common DIY mistakes
The patterns that sink DIY attempts are consistent: treating only the bed and ignoring nearby furniture and cracks, applying desiccant dust too thickly, leaning on foggers, failing to isolate the bed with interceptors, and quitting after one round before hidden eggs hatch.
💡 Pro Tip: If you live in an apartment and bugs keep returning no matter what you do, the issue may be next door — bed bugs move between units, and a glance at how people actually get bed bugs shows why a single untreated neighbor can re-seed your home.
How long it really takes
Getting rid of bed bugs yourself usually takes several weeks to a few months and multiple treatments, exactly as the EPA describes. If you’re two weeks in and still seeing a few bugs, that’s normal — it means eggs have hatched and you need another round, not that you’ve failed.
How to tell if it’s working
Falling interceptor counts and no new bites or fecal spotting over consecutive weeks are your real progress signals. Keep monitoring well past the point where you think it’s over, and use a clear method to confirm the bed bugs are actually gone before you call it done.
When to stop DIY and hire a professional
Calling a pro isn’t admitting defeat — for the right situation, it’s the smart and safer call.
Signs DIY has gone as far as it can
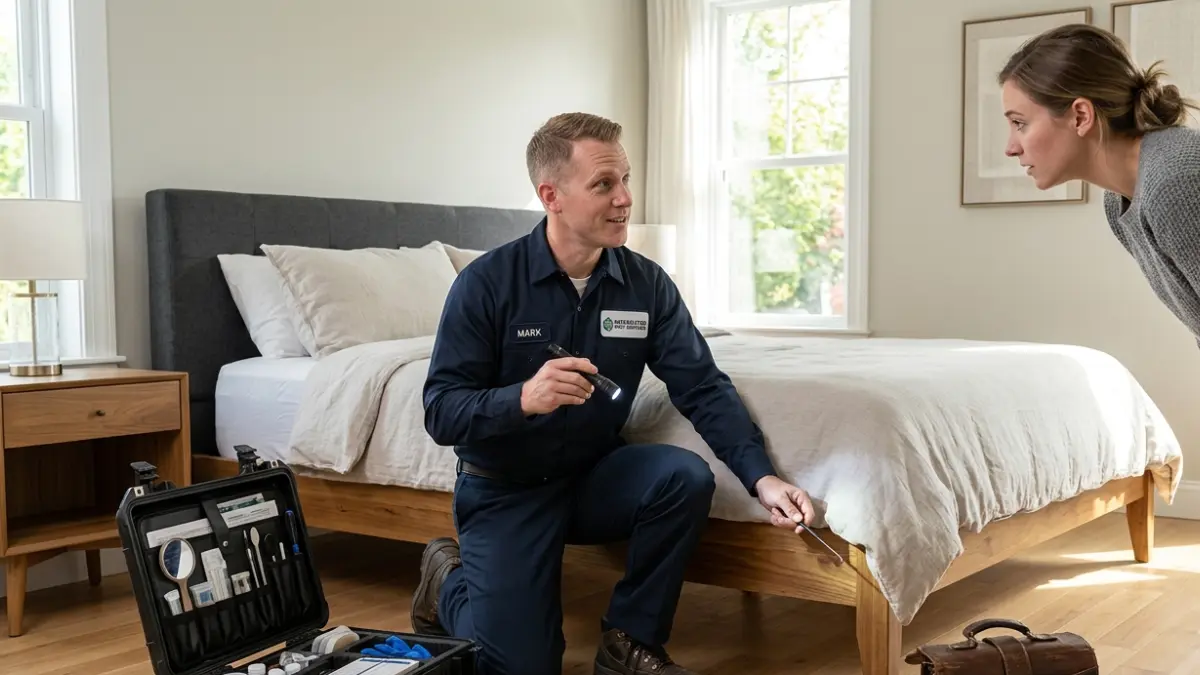
Stop and hire a professional if the infestation is still spreading after two or three full rounds of treatment, if you’re seeing bugs in multiple rooms, or if the only “next step” you can think of is a stronger chemical. Pros have proven tools you can’t safely replicate at home, including whole-structure heat treatment monitored with placed thermometers.
⚠️ Watch Out: If anyone in your home is an infant, elderly, pregnant, or immunocompromised, don’t gamble with DIY pesticides — the CDC’s documented poisonings included vulnerable people exposed to misapplied chemicals. This is a hire-a-pro situation from day one.
Situations that need a pro from day one
Some cases shouldn’t start as DIY at all: a heavy, established infestation, or any infestation in an apartment or multi-family building, where adjoining units almost always need coordinated treatment.
✅ Do This: When hiring, confirm the company is licensed in your state, ask whether they use integrated pest management, and have them inspect neighboring units if you share walls. If you want the full framework first, our safe 5-step bed bug plan walks through both the DIY and professional paths.
Frequently asked questions about getting rid of bed bugs yourself
1. Can you get rid of bed bugs yourself?
Yes, you can get rid of bed bugs yourself when the infestation is caught early and confined to one room, but it takes weeks of diligent, repeated effort. Heavy, widespread, or apartment-building infestations usually need a professional. If anyone in your home is medically vulnerable, treat chemical control as a professional’s job from the start.
2. How long does it take to get rid of bed bugs yourself?
Getting rid of bed bugs yourself usually takes several weeks to a few months, and the EPA notes you’ll likely need more than one treatment as hidden eggs hatch. Seeing a few bugs at two weeks is normal and means another round is due. Keep monitoring for up to a year to confirm they’re truly gone.
3. What temperature kills bed bugs?
Heat kills bed bugs at every life stage. The EPA reports a household dryer on high heat for 30 minutes kills bugs and eggs, and that items or areas should reach at least 120°F (49°C) for 90 minutes to ensure eggs die. The hotter the temperature, the faster bed bugs die — which is why professional heat treatments are so effective.
4. Does diatomaceous earth kill bed bugs?
Yes, an EPA-registered diatomaceous earth or silica gel desiccant dust kills bed bugs by drying them out, and they can’t develop resistance to it. It works slowly — days to two weeks — and only in a thin layer inside cracks. Because inhaling the dust can irritate your lungs, use a bed-bug-labeled product, apply lightly, and wear a mask.
5. Do foggers or bug bombs kill bed bugs?
No. The EPA and University of Minnesota Extension both find total-release foggers and bug bombs don’t eliminate bed bugs, because the spray can’t reach the cracks and crevices where bugs hide. Foggers are also easy to misuse and potentially flammable. If you’re considering one to get rid of bed bugs yourself, use targeted methods instead.
6. Will washing and drying clothes kill bed bugs?
Drying does the real work. The EPA notes washing alone often won’t kill bed bugs, but running fabrics through a dryer on high heat for 30 minutes kills bugs and eggs. Move infested items to the laundry in sealed bags so you don’t spread them, and store cleaned items sealed until your home is clear.
7. What should you never do to get rid of bed bugs?
Never use outdoor, garden, or agricultural pesticides indoors, never rely on foggers, and never use rubbing alcohol, kerosene, or gasoline. The CDC documented poisonings — including one death — from people misusing pesticides this way. If a situation seems to call for stronger chemicals, that’s the signal to hire a certified professional instead.
8. How much does DIY bed bug treatment cost?
A full DIY kit — encasements, interceptors, desiccant dust, a steamer, bags, and caulk — typically runs about $150 to $400, versus roughly $300 to $600 for a single-room professional treatment and $1,000 or more for whole-home work. These are estimates that vary by region and severity, so confirm current local pricing before budgeting.
9. Can I get rid of bed bugs without an exterminator?
Yes, for an early, light, single-room infestation, the DIY method of laundering, heat, vacuuming, steaming, encasements, and interceptors can work without an exterminator. It demands patience and repeated treatments over weeks. For heavy or multi-unit infestations, or homes with vulnerable residents, a licensed professional is the safer and often cheaper choice in the end.
10. When should I call a professional for bed bugs?
Call a professional if the infestation is spreading after two or three treatment rounds, if it’s in several rooms, if you live in an apartment building, or if anyone in your home is an infant, elderly, pregnant, or immunocompromised. Confirm the company is licensed in your state and uses integrated pest management before hiring.
The bottom line on DIY bed bug removal
You can get rid of bed bugs yourself when you catch the problem early, use the right method, and accept that it’s a weeks-long campaign rather than a one-time spray. Lead with the non-chemical work — laundering, heat, vacuuming, steaming, encasements, and interceptors — and treat any pesticide with real caution and respect for the label.
Knowing when to stop is part of doing this well: if the infestation is spreading, widespread, in a shared building, or your home includes vulnerable residents, hiring a licensed professional is the smart move, not a failure. Either way, work the plan, keep monitoring for up to a year, and lean on our complete safe 5-step bed bug plan to keep every step in order.
Related Articles
 Bed Bugs Treatment
How to Know If Bed Bugs Are Gone and Stay Gone
June 29, 2026 Bed Bugs Treatment
The Smart Way to Prevent Bed Bugs at Home
July 10, 2026 Bed Bugs Treatment
Why Bug Bombs Don’t Work on Bed Bugs (+ What Does)
July 2, 2026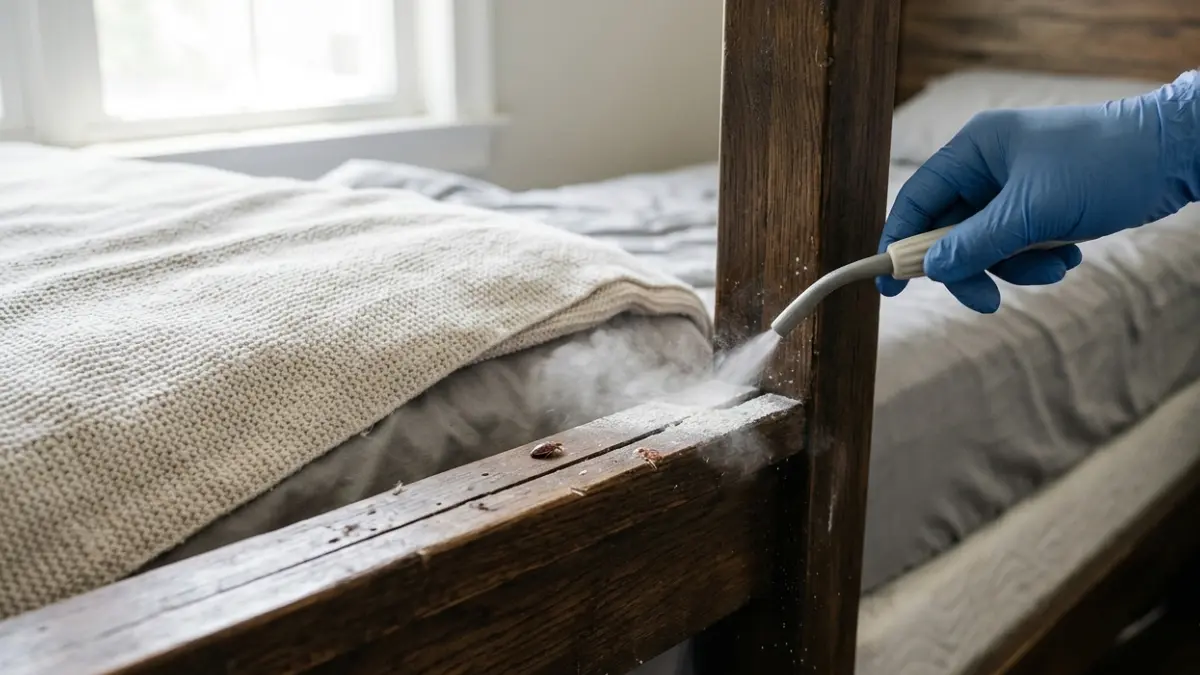 Bed Bugs Treatment
How Diatomaceous Earth Kills Bed Bugs and the Grade to Avoid
June 30, 2026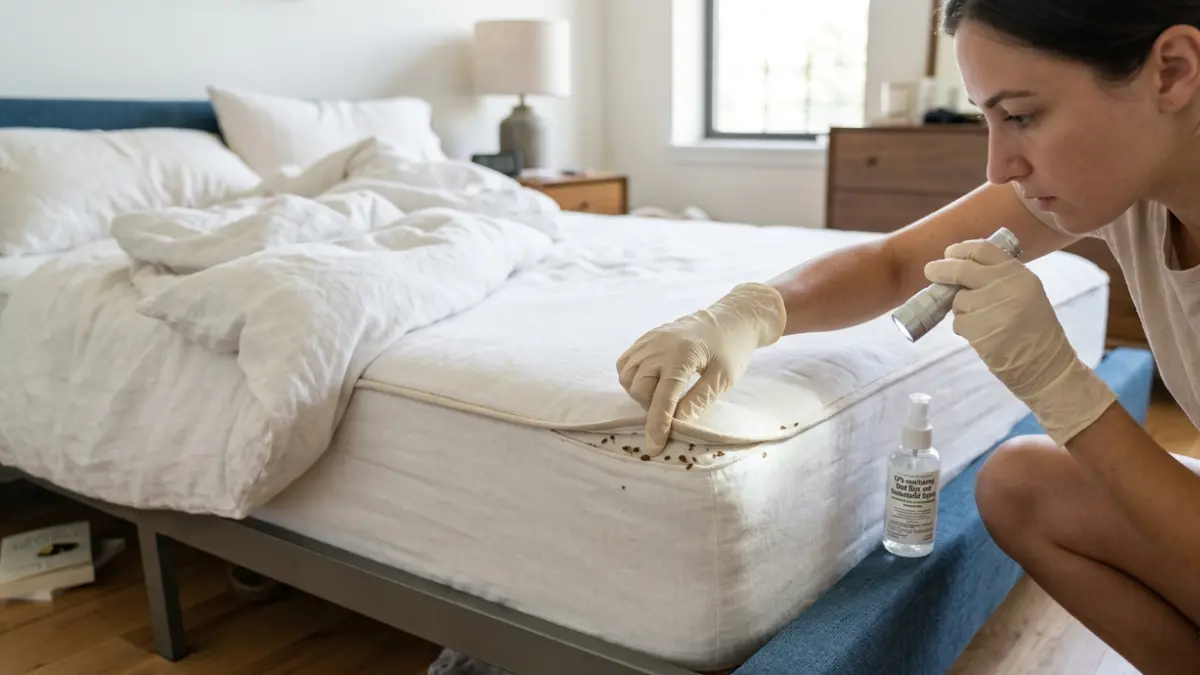 Bed Bugs Treatment
The Smart Way to Choose and Use a Bed Bug Spray
July 1, 2026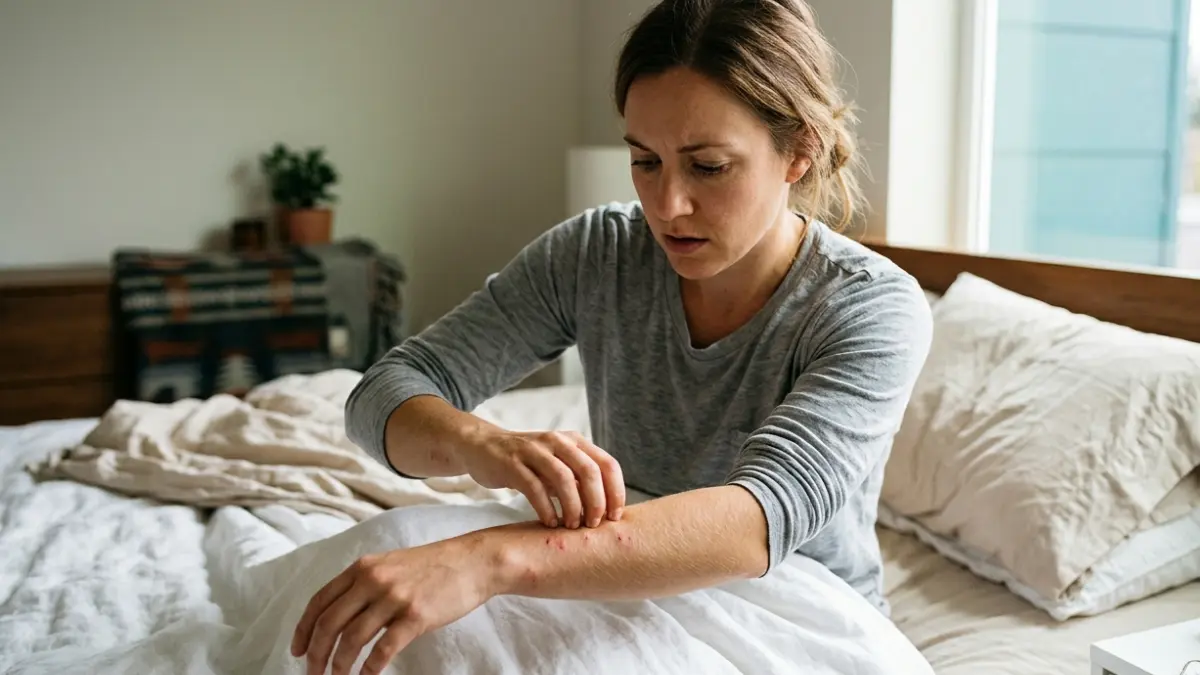 Bed Bugs Treatment
What Bed Bug Bites Look Like, and How to Be Sure
June 23, 2026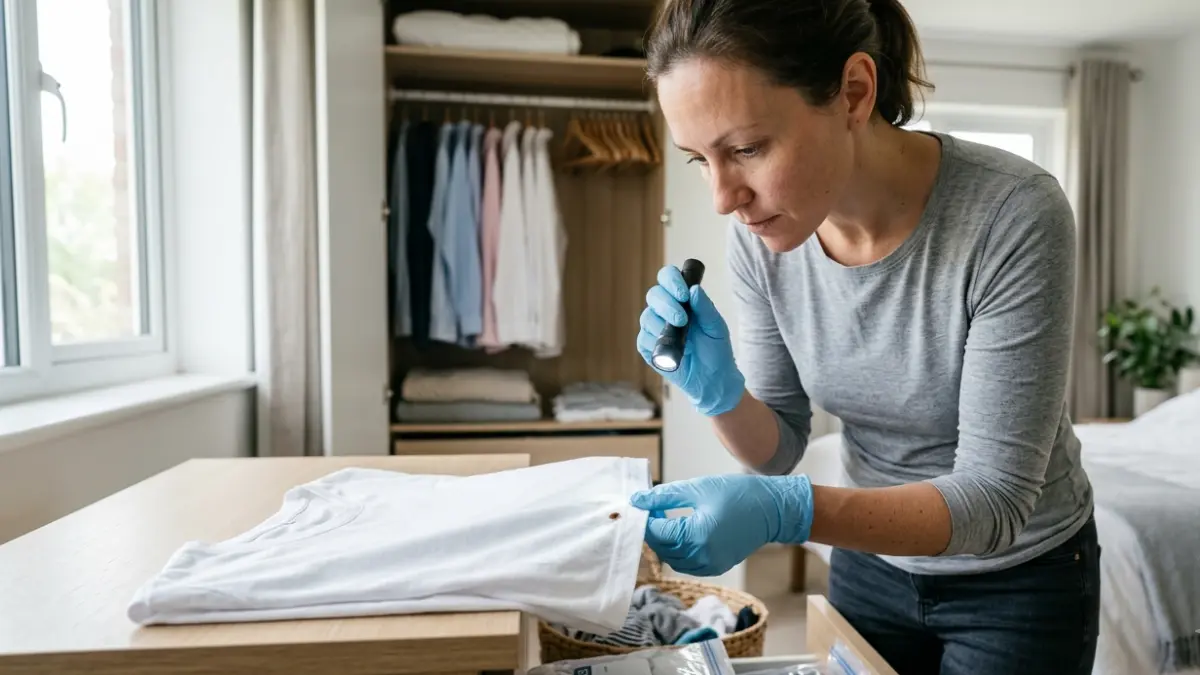 Bed Bugs Treatment
Getting Rid of Bed Bugs in Clothes, Step by Step
July 3, 2026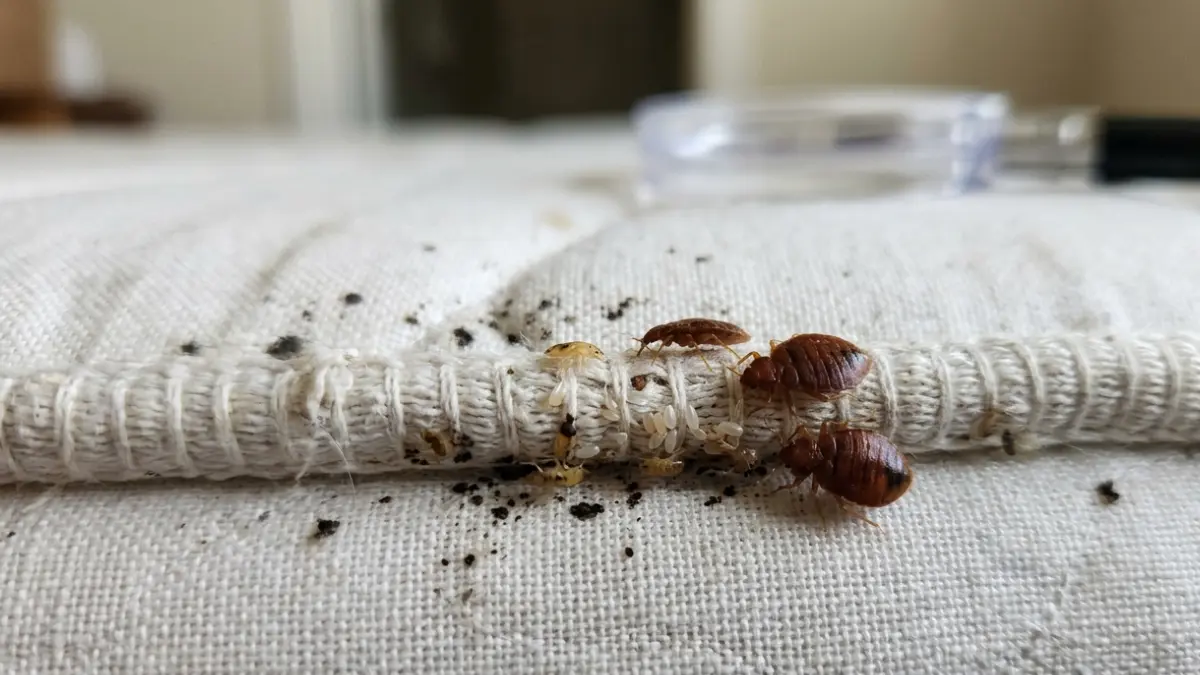 Bed Bugs Treatment
How Fast Bed Bugs Spread, and How to Get Ahead of It
June 25, 2026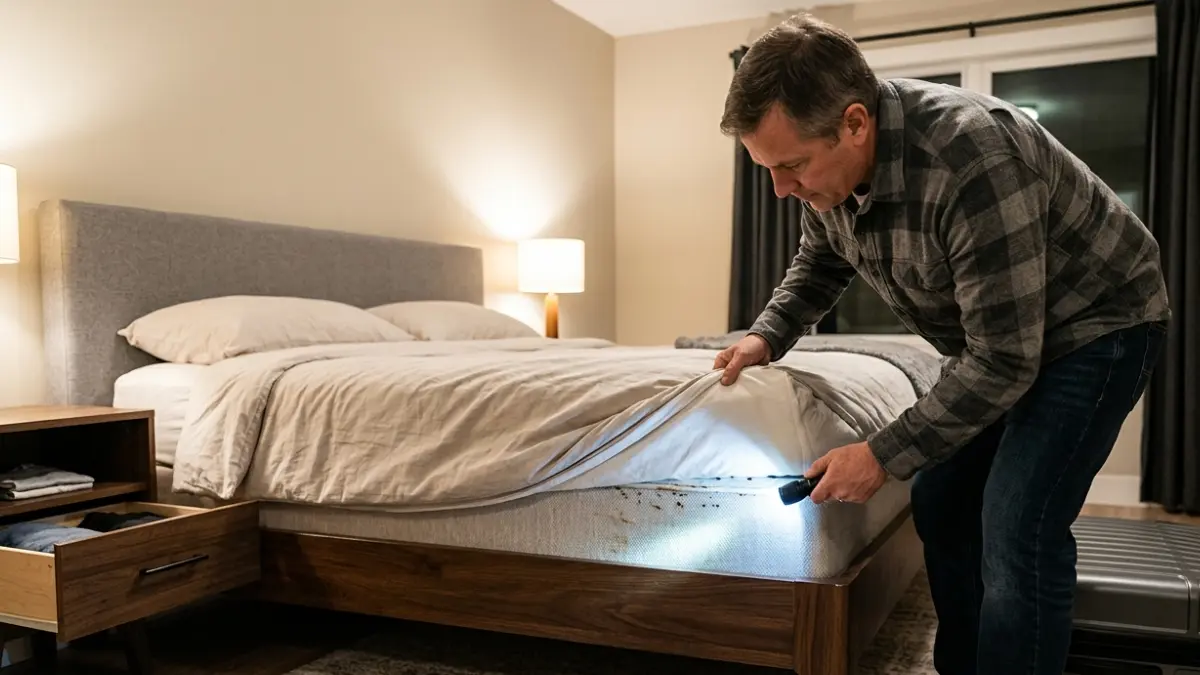 Bed Bugs Treatment