Here’s Exactly When DIY Mold Removal Is the Right Call
DIY mold removal is safe — but only below 10 square feet and on cleanable surfaces. Learn what supplies you need, which products actually work, and when bleach fails.

Table of Contents
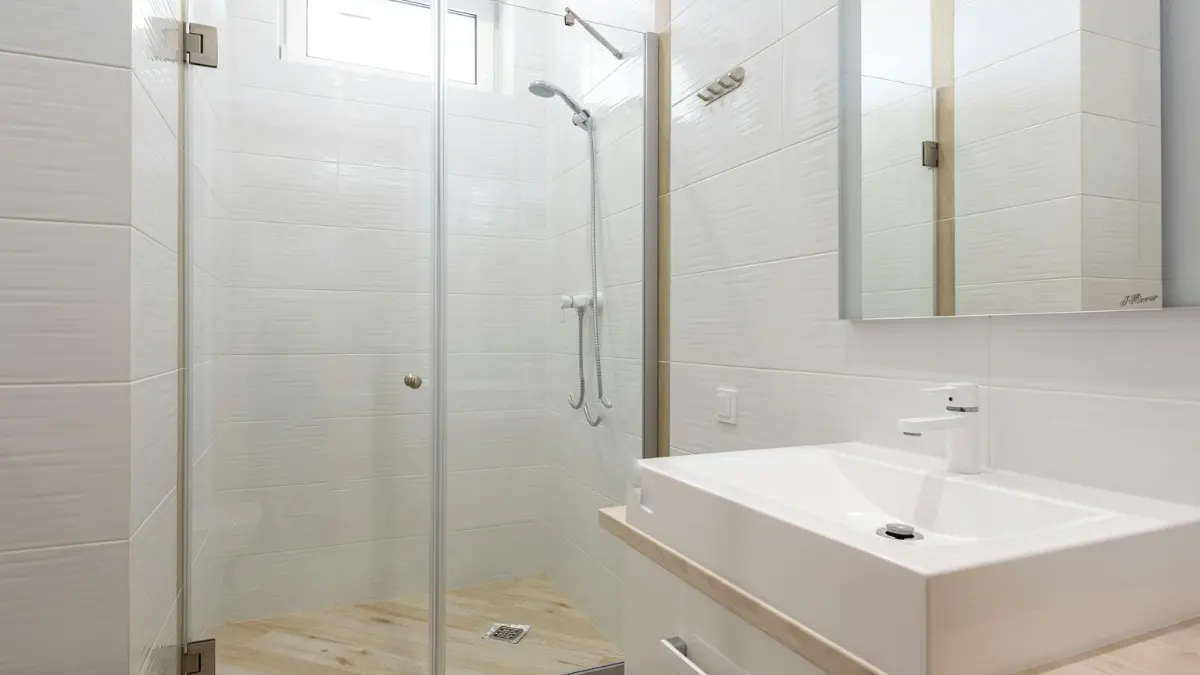
You spotted it behind the bathroom faucet — a dark patch spreading across the caulk line, maybe edging toward the drywall. The instinct to grab a spray bottle and scrub is understandable, and so is the nagging question of whether you’re about to make things worse.
Here’s the answer you actually came here for: DIY mold removal is safe and effective for millions of homeowners every year — but only when the size, surface, and type of mold growth fall within specific, well-defined limits.
The EPA draws a clear line at 10 square feet. Above that threshold, mold spores become harder to contain safely, and the health risks of exposure shift in ways that standard DIY methods can’t adequately control.
This guide gives you the exact decision framework, step-by-step process, product breakdown, and safety information to handle the job correctly — or recognize when calling a licensed mold remediation specialist is the smarter move.
ℹ️ Disclaimer: This guide covers surface mold in livable spaces. If you suspect mold in your HVAC system, inside wall cavities, or originating from sewage-contaminated water, stop reading and call a licensed professional. Those scenarios fall outside the scope of any DIY approach.
When DIY mold removal is safe (and when it isn’t)
DIY mold removal is generally safe when the affected area covers less than 10 square feet — roughly a 3×3-foot patch — and the mold appears on a non-porous, cleanable surface such as tile, glass, or sealed concrete. Above that size, or on porous materials like drywall and wood, the job belongs with a licensed remediation specialist.
The 10-square-foot rule explained
That 10-square-foot threshold comes directly from the EPA’s mold remediation guidelines, and it exists for a specific engineering reason — not arbitrary caution. Cleaning a surface larger than 10 square feet disturbs enough mold spores that standard DIY containment can no longer reliably prevent cross-contamination into adjoining rooms.
Think of it as a displacement problem: the spore volume generated during scrubbing at that scale exceeds what plastic sheeting over a doorway and a single N95 can intercept.
Surface type matters: porous vs. non-porous
Porous vs. non-porous surfaces is the second variable that determines whether DIY is the right call. Non-porous surfaces — tile, glass, metal, sealed concrete — can be successfully cleaned because mold colonizes the surface only and has nowhere to root deeper into the material.
Porous materials — drywall, wood framing, carpet, acoustic ceiling tiles — are a different situation entirely. Mold sends root-like hyphae into the substrate, so surface scrubbing removes the visible colony while leaving the organism intact below. That mold regrows from the same roots within weeks.
⚠️ Warning: Any porous material with mold growth larger than a 12-inch square should be physically removed and replaced, not cleaned. Cleaning the surface of affected drywall is not remediation — it is cosmetic concealment.
DIY or call a pro? A quick-reference decision matrix
| Mold Size | Surface Type | Mold Color | Recommended Action |
|---|---|---|---|
| Under 10 sq ft | Non-porous | Any | DIY with proper PPE |
| Under 10 sq ft | Porous — small patch | Non-black | DIY; monitor for regrowth |
| Under 10 sq ft | Porous | Black or slimy | Professional assessment first |
| Over 10 sq ft | Any | Any | Call a licensed professional |
| Unknown — behind walls or under flooring | Any | Any | Professional inspection required |
How do you know if mold is behind your walls? Musty odor without visible growth, soft or bubbling drywall, and unexplained allergy symptoms that improve when you leave the house are the three most reliable signals — and all three warrant a professional mold inspection before you start cutting.
Before cleaning anything, address the moisture source that caused the growth. Understanding how to build a full mold remediation plan helps you approach the problem in the right sequence — source first, cleaning second.
DIY mold removal cost vs. hiring a professional
Knowing what you’ll spend — in either direction — makes the DIY-vs.-pro decision a financial calculation, not just a gut call.
What DIY mold removal actually costs
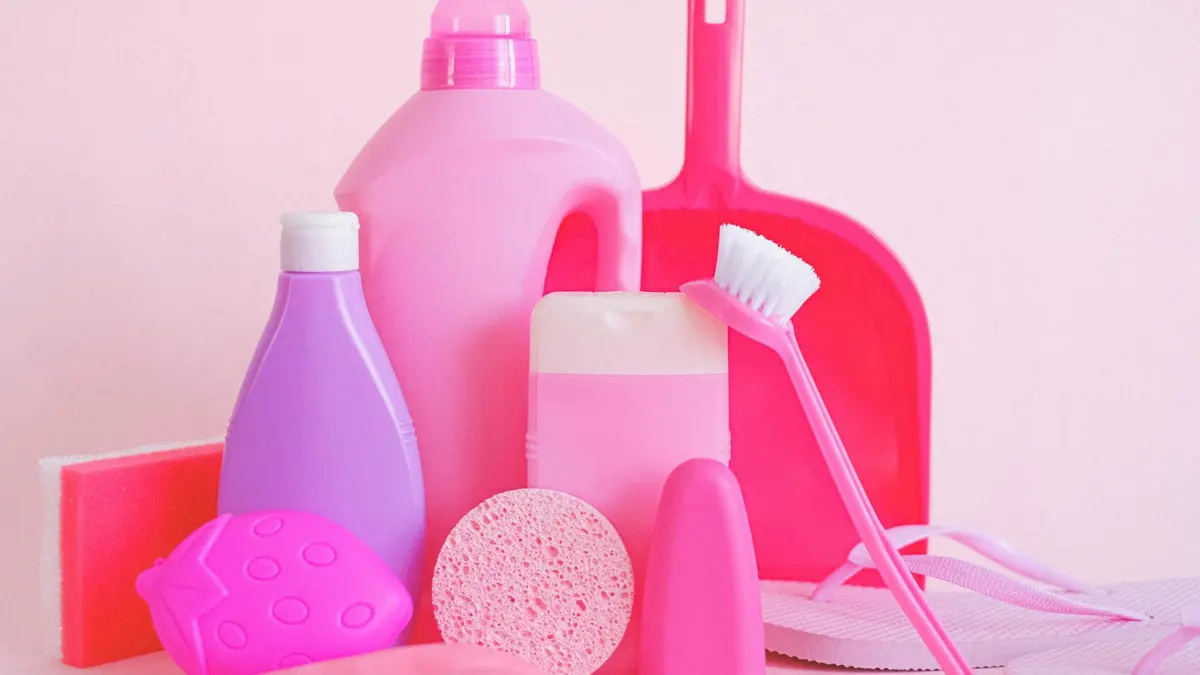
A complete DIY mold removal supply kit for a small bathroom job typically runs $30–$80. That covers an N95 respirator, nitrile gloves, a commercial mold remover spray, plastic sheeting for containment, and microfiber cloths for wipe-down.
That number looks very different from professional remediation costs — but the comparison only holds when the job size genuinely falls within DIY territory.
Average professional mold remediation costs by job size
| Job Size | Approximate Area | DIY Supply Cost | Professional Cost Range |
|---|---|---|---|
| Small | Under 10 sq ft | $30–$80 | $500–$1,500 |
| Medium | 10–100 sq ft | Not recommended | $1,500–$4,000 |
| Large | 100+ sq ft | Not recommended | $4,000–$15,000+ |
National cost ranges based on mold remediation industry data, 2024–2025.
One figure most homeowners don’t anticipate: improper DIY on a medium or large job — one that spreads spores into HVAC ductwork or adjacent rooms — can increase the professional remediation cost by 30–60% compared to calling a pro at the outset. The savings calculation has to include that risk.
Is a mold test kit worth buying first?
A mold testing kit — Mold Armor and Pro-Lab are the two most widely available brands, priced at $8–$30 at hardware stores — confirms whether mold is present before you commit to a cleanup. What it cannot do is identify the species.
Confirming Stachybotrys (true black mold) requires a certified laboratory analysis, which costs an additional $30–$150 for the lab processing fee on top of the kit. If your mold is visibly black, slimy in texture, and growing in a chronically damp area, skip the consumer kit and invest that money in a professional inspection instead.
For a room-by-room breakdown of what professional remediation actually costs in your specific situation, mold remediation costs by room gives you the data to compare accurately.
How to remove mold yourself: step-by-step
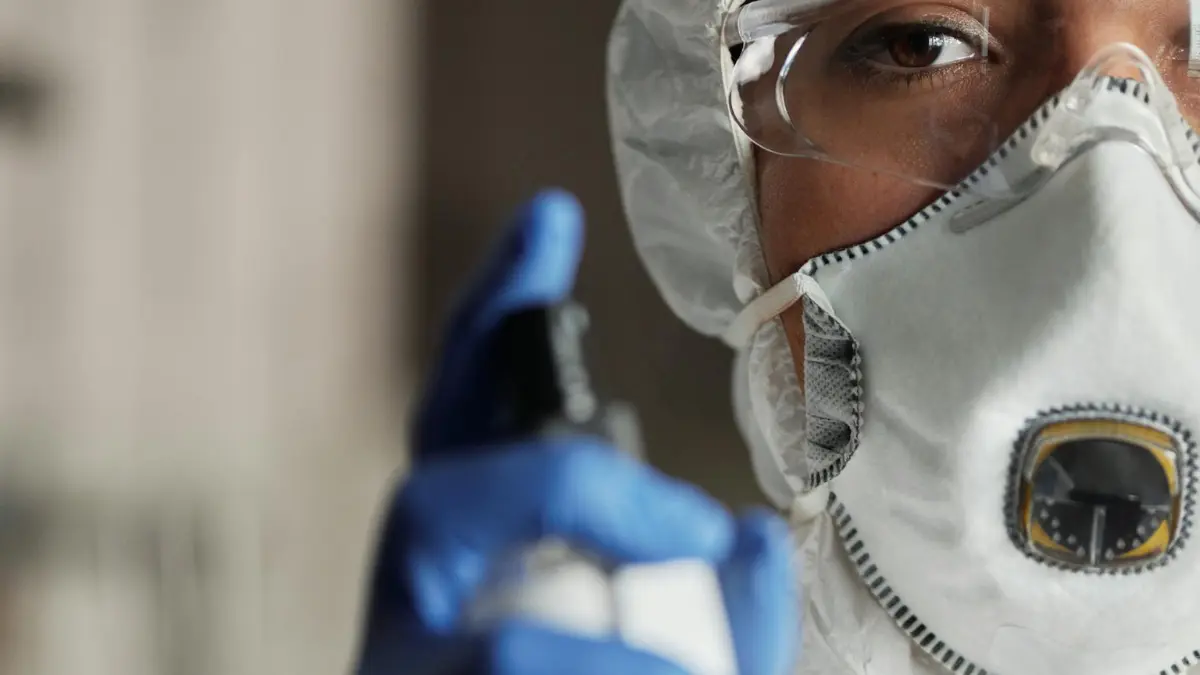
To remove mold from walls yourself, begin by sealing off the work area with plastic sheeting to prevent mold spore spread, then put on your N95 respirator, gloves, and eye protection before touching anything.
That sequence — contain first, gear up second, clean third — is the order professionals follow for a reason. Reversing it is the most common DIY mistake, and it’s the one that ends with spores in your living room.
What you’ll need: PPE and supplies checklist
Gather everything before you enter the work area. Leaving mid-job to retrieve a forgotten supply means carrying spores out with you.
Personal protective equipment (PPE):
- N95 respirator — minimum; use a P100 half-mask for anything involving drywall or insulation
- Chemical-splash safety goggles — not standard glasses, which leave gaps at the sides
- Nitrile gloves — latex tears on rough grout and concrete edges
- Disposable coveralls or dedicated clothing you can immediately bag and launder at high heat
Cleaning supplies and tools:
- Commercial antimicrobial spray (hydrogen peroxide-based for porous surfaces, bleach-based for tile and tubs only)
- Stiff-bristle scrub brush for grout lines and textured surfaces
- Microfiber cloths for non-porous wipe-down
- Heavy-duty garbage bags for contaminated material disposal
- HEPA vacuum for post-cleaning spore collection — not a standard shop vac
- Plastic sheeting and painter’s tape for containment barriers
⚠️ Warning: OSHA’s respiratory protection standards establish the N95 as the minimum for mold disturbance work. A paper dust mask — the kind used for sanding — provides zero protection against mold spores, which measure 2–10 microns and pass directly through paper fibers.
Step 1–2: Contain the area and gear up
Containment barriers are the step most DIYers skip, and skipping them is what turns a bathroom mold problem into a whole-house air quality problem. Tape plastic sheeting over doorways and close or tape over HVAC vents before opening any windows.
Gear up completely while standing outside the containment zone. Your respirator and goggles go on before you break the seal of the plastic sheeting.
Step 3–5: Apply, scrub, and dry
Spray the mold remover generously over the entire affected area and let it dwell for the contact time listed on the label — most products specify 5–10 minutes. The dwell time is not optional; it’s when the active ingredient penetrates and kills the colony.
Scrub in firm circular motions on flat tile and tubs; switch to a straight back-and-forth stroke inside grout lines, where circular motions pack debris deeper into the channel rather than lifting it. Work top-to-bottom throughout so runoff flows over already-cleaned areas rather than unprocessed ones.
✅ Pro Tip: After the first scrub, wipe the surface dry with a clean microfiber cloth, then apply a second light coat of solution and allow it to air-dry without wiping. This second application kills the spores the scrubbing loosened but didn’t fully remove — it’s the step that prevents regrowth at 3 weeks.
Step 6: Dispose of materials safely
Bag every cloth, brush, and piece of containment plastic inside the work area before carrying anything out. Seal the first bag inside a second bag before it travels through the house.
Run your HEPA vacuum over the work area floor and baseboards before removing the containment sheeting. A standard shop vac exhausts fine particles — including mold spores — directly back into the room air through its exhaust port; a HEPA filter captures particles down to 0.3 microns and is not optional for this step.
For technique and product guidance specific to tile, wood, concrete, and drywall surfaces, black mold removal steps by surface type covers each material with the detail that a general guide can’t.
Best products for DIY mold removal (and what to skip)
The product you reach for first determines whether you actually kill the colony — or just clean the surface while the roots survive below.
Why bleach isn’t the best answer for most mold jobs
Bleach kills surface mold on non-porous materials like tile, tubs, and sealed concrete — but it cannot penetrate porous surfaces like drywall, wood, or grout, meaning it eliminates what you can see while leaving the mold’s root structure alive below.
The chemistry explains why: bleach is sodium hypochlorite suspended in water, and that water component does not penetrate porous substrate deeply enough to reach fungal hyphae. The water actually deposits residual moisture into the material — which feeds any surviving mold.
Hydrogen peroxide and vinegar: what actually works
Hydrogen peroxide at 3% concentration (the standard pharmacy bottle) kills mold on both porous and non-porous surfaces because it penetrates slightly into substrate and disrupts the cell membrane of fungal organisms on contact. It’s the better starting point for grout, caulk lines, and unfinished wood.
White vinegar solution — applied undiluted — works through acidity. Most common mold species cannot survive sustained exposure to a pH below 4, and undiluted white vinegar registers around pH 2.4.
💡 Expert Note: Never mix vinegar and hydrogen peroxide in the same container — they react to form peracetic acid, which is corrosive to skin and airways. Apply one product, allow it to dry completely, then apply the other in a separate pass.
Commercial mold removers worth buying
| Product | Best For | Surface Compatibility | Key Advantage |
|---|---|---|---|
| RMR-86 | Heavy staining on hard surfaces | Non-porous only | Works in as little as 15 seconds |
| Concrobium Mold Control | Removal + prevention | Porous + non-porous | EPA-registered; odorless when dry |
| 3% Hydrogen peroxide | General removal, porous surfaces | Both | Inexpensive; available everywhere |
| 10:1 bleach solution | Surface cleaning on tile only | Non-porous only | Effective only with zero substrate porosity |
After any successful removal, seal the treated surface with a mold-resistant primer before repainting. Products like Zinsser Mold Killing Primer add a chemical barrier that prevents spores from penetrating back into the surface — skipping this step is why bathroom mold returns in the same spot after cleaning.
Health risks of DIY mold removal and how to stay safe
Disturbing mold without proper containment releases spores into the air, which can trigger respiratory irritation, eye and skin reactions, and — in people with asthma or compromised immune systems — more serious effects including worsened lung function and chronic sinus infections.
Symptoms that mean you should stop immediately
If any of the following appear during cleanup, leave the work area immediately, remove your respirator only after you’re in fresh air, and do not re-enter until the cause is identified.
- Burning or watery eyes that persist after leaving the room
- Persistent coughing or chest tightness not present before starting
- Headache or dizziness during or within 30 minutes of working
- Skin irritation or a rash on any exposed area
These are not mild irritation signals to push through. They indicate that your containment, your respirator fit, or the job scope has exceeded what your current setup can safely handle.
Who should never DIY mold removal
Some people face substantially elevated risk from mold spore exposure regardless of job size or duration.
According to the CDC’s guidance on mold and respiratory health, the following groups should not perform DIY mold removal under any circumstances:
- People with asthma, chronic allergies, or other respiratory conditions
- Immunocompromised individuals — chemotherapy patients, organ transplant recipients, anyone on immunosuppressant medications
- Infants and toddlers under 2
- Adults 65 and older
- Pregnant women
If anyone in your household belongs to one of these groups, professional remediation is the appropriate path — not because the job size necessarily warrants it, but because the risk-to-benefit calculation is genuinely different.
Is black mold always dangerous?
Black mold (Stachybotrys chartarum) carries greater health risk than most common household mold species, particularly for at-risk populations — but the widespread narrative that any exposure causes immediate serious illness in healthy adults overstates what the research actually shows.
⚠️ Warning: Color alone cannot confirm Stachybotrys. Many common species appear black or dark green under typical household conditions. If your mold has a slimy texture, a particularly strong musty odor, and is growing in an area that has experienced repeated flooding or long-term water damage, treat it as a presumptive Stachybotrys and request professional testing before any cleanup begins.
How to stop mold from coming back after removal
Cleaning the mold without solving the moisture problem is painting over rust — thorough-looking, temporary, and pointless.
Fix the moisture source first
Moisture control is the only mold prevention strategy that works. Before any coating or product goes on the wall, find and fix what caused the moisture — a slow drain, an undersized exhaust fan, condensation on a cold water line, or foundation seepage.
A moisture meter reading below 16% in the affected material is the professional standard for a genuinely dry surface. Readings above 16% mean the substrate is still wet enough to support mold growth — no matter how clean the surface looks.
Ventilation, dehumidifiers, and moisture barriers
Target indoor relative humidity below 50% year-round — most household mold species cannot colonize surfaces at that level. A mid-capacity dehumidifier handles most basements and bathrooms; a $15 hygrometer confirms you’ve hit the target rather than assuming you have.
In areas with recurring humidity problems, apply a moisture barrier encapsulant after remediation before your finish coat — products like DryLok Extreme physically seal concrete surface porosity against vapor infiltration.
When to waterproof vs. when to repaint
Waterproof when water is entering from outside — rain-driven basement walls, crawl space condensation, or visible efflorescence (white mineral deposits on concrete indicate long-term water movement through the wall). Repaint with mold-resistant primer when the moisture source was interior — steam, condensation, or a plumbing leak that has since been repaired and the substrate has dried to below 16%.
For a complete look at source identification, structural drying, and long-term mold prevention, the full mold remediation guidance walks through every room and scenario in detail.
Frequently asked questions about DIY mold removal
1. Is it safe to remove mold yourself?
DIY mold removal is safe when the affected area is under 10 square feet and located on a non-porous surface such as tile, glass, or sealed concrete. Wear an N95 respirator, nitrile gloves, and safety goggles throughout. If the area is larger, on drywall or wood, or appears black and slimy, professional assessment is the appropriate first step. See the full decision matrix above for a complete guide.
2. What kills mold permanently?
No single product kills mold permanently — the only permanent solution is eliminating the moisture source that allows it to grow. For surface treatment, hydrogen peroxide (3%) and EPA-registered products like Concrobium Mold Control are the most effective options across both porous and non-porous surfaces. After treatment, seal the surface with a mold-resistant primer to create a physical barrier against recolonization.
3. How do you remove black mold from walls?
If the black mold is on a non-porous surface and covers less than 10 square feet, apply a hydrogen peroxide-based mold remover, allow a 10-minute dwell time, scrub firmly, and wipe dry. On drywall or wood, physical removal and replacement of the affected section is required — surface cleaning alone leaves the root structure intact. Wear full PPE throughout, including an N95 respirator.
4. When should you not DIY mold removal?
Do not attempt DIY mold removal when the affected area exceeds 10 square feet, when mold is growing on porous materials like drywall or wood in sections larger than a few inches, when the moisture source was sewage or floodwater, when you can smell mold but cannot locate the visible growth, or when any household member is immunocompromised, has asthma, is pregnant, or is under age 2.
5. What are the signs mold is making you sick?
Mold exposure symptoms include persistent nasal congestion, sneezing, watery or burning eyes, skin irritation, coughing, and in sensitive individuals, worsened asthma or breathing difficulty. Symptoms that improve when you leave home and return when you come back are a reliable pattern signal. According to the CDC’s mold health guidance, people with compromised immune systems may experience more serious respiratory infections from mold exposure.
6. Does bleach kill mold on drywall?
Bleach does not effectively kill mold on drywall. Bleach is sodium hypochlorite suspended in water, and that water does not penetrate porous drywall substrate deeply enough to reach the mold’s root hyphae. It removes the surface color while leaving the colony alive below. Affected drywall must be cut out and replaced — not treated with any surface cleaning product.
7. How long does mold removal take?
A small DIY mold removal job on a non-porous surface — a 2×2-foot area of bathroom tile, for example — takes 1–3 hours from containment setup through final cleanup and disposal. Larger areas on porous materials, including drying time between treatment passes and structural patching, can take a full day or extend across multiple sessions. Professional remediation on medium to large jobs typically takes 1–5 days.
8. What do professionals use to kill mold?
Professional mold remediation specialists use EPA-registered fungicidal treatments including quaternary ammonium compounds, chlorine dioxide, and encapsulants that seal porous surfaces after killing the colony. They also use negative air pressure machines and HEPA air scrubbers to prevent spore migration during work — equipment that goes well beyond what DIY containment provides.
9. Can I stay in my house during mold remediation?
For small DIY mold removal jobs confined to a single bathroom or utility space, staying in the house is generally safe if the containment is effective and the HVAC system is shut off during work. For professional remediation of medium or large areas, contractors typically recommend vacating for the duration — particularly for at-risk household members. Ask your remediation company for a specific recommendation based on your job scope.
10. How much does professional mold removal cost?
Professional mold remediation costs vary significantly by job size: small jobs under 10 square feet typically run $500–$1,500; medium jobs from 10–100 square feet run $1,500–$4,000; large-scale remediation of 100+ square feet or HVAC involvement can reach $4,000–$15,000 or more. Geographic location, access difficulty, and required structural repairs affect the final figure.
11. What PPE do I need to remove mold?
PPE for mold removal includes: an N95 respirator at minimum (P100 half-mask for drywall or insulation work), chemical-splash safety goggles, nitrile gloves, and disposable coveralls or clothes that can be immediately bagged and washed at high heat. Do not substitute a paper dust mask for an N95 — paper masks do not filter particles in the 2–10 micron range that mold spores occupy.
12. Does vinegar or bleach work better for mold?
White vinegar outperforms bleach for most household mold removal applications because its low pH (around 2.4) kills mold on both porous and non-porous surfaces, whereas bleach cannot penetrate porous materials. On completely non-porous surfaces like glass tile or porcelain, both can be effective — but vinegar carries less risk of damaging grout or surrounding finishes and is safer to use without strong ventilation.
13. How do I stop mold from coming back?
To stop mold from returning: fix the moisture source that allowed it to grow, dry the affected area to below 16% moisture content (confirmed with a moisture meter), apply an EPA-registered encapsulant or mold-resistant primer before repainting, and maintain indoor relative humidity below 50% year-round using a dehumidifier and proper ventilation. Prevention at the moisture level is the only approach that holds long-term.
14. How do I know if mold is behind my walls?
Three signals together strongly suggest hidden mold growth: a musty odor present in a room without visible mold, soft spots, bubbling paint, or discoloration on drywall surfaces, and allergy or respiratory symptoms that improve when you leave the home and return when you’re inside. If two or more of these are present, request a professional inspection before opening any walls — disturbing hidden mold without containment spreads it through the structure.
15. Is all black mold dangerous?
Not all black mold is Stachybotrys chartarum, the species most associated with serious health effects. Many common mold species appear black or dark green under normal household conditions. Stachybotrys is identified by laboratory analysis — not color. However, any black mold growing in a chronically wet area with a slimy texture should be treated as presumptive Stachybotrys and assessed professionally before cleanup begins.
16. Can I test for mold myself?
Consumer mold test kits — available at most hardware stores for $8–$30 — can confirm whether mold is present in a space. They cannot identify the species, which requires laboratory analysis ($30–$150 additional fee). For most DIY-range jobs, a test kit adds useful confirmation before you start but is not strictly necessary if visible growth is already apparent. Species identification matters most when black mold is suspected.
17. How do I contain mold while cleaning it?
To contain mold during cleanup: seal doorways with plastic sheeting and painter’s tape before starting, close or cover all HVAC vents in the work area, turn off forced-air systems for the duration to prevent spore circulation, work with the window open and a box fan exhausting air out (not in), and place a HEPA vacuum nearby to capture disturbed spores from surfaces and the air around your work area before removing containment.
You’ve got this — and you know when to call for backup
You now have the threshold, the process, the products, and the honest risk picture. If your mold falls under 10 square feet on a cleanable, non-porous surface, you are equipped to handle it safely today.
If anything about your situation doesn’t fit that picture — the area is larger than you measured, the surface is drywall, the mold came back within weeks of a previous cleaning, or you feel unwell during the job — stop and call a licensed remediation professional. That’s not a failure of nerve. That’s the right call, made with the right information.
The single most valuable thing you can do after any mold removal is ensure it doesn’t happen again. For a complete room-by-room approach to moisture control and long-term mold prevention, the full mold remediation guidance is the resource to bookmark next.